How to add ads.txt file in Ghost blog
Learn how to add and configure the ads.txt file in Ghost using a simple redirects.yaml solution. This guide covers the process of hosting the file on GitHub, setting up redirects, and verifying successful integration with Google AdSense.


Problem Description
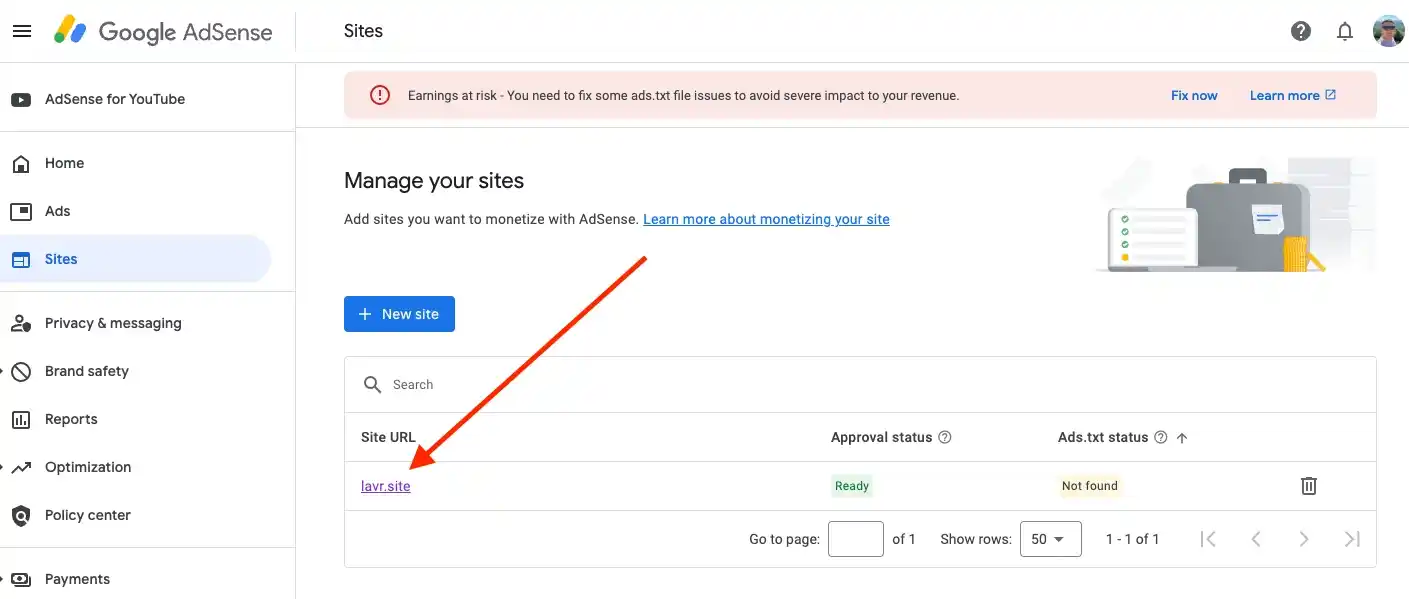
Hello. Perhaps you've also encountered this message in your Google AdSense account regarding an issue with the ads.txt file—or more specifically, its absence.
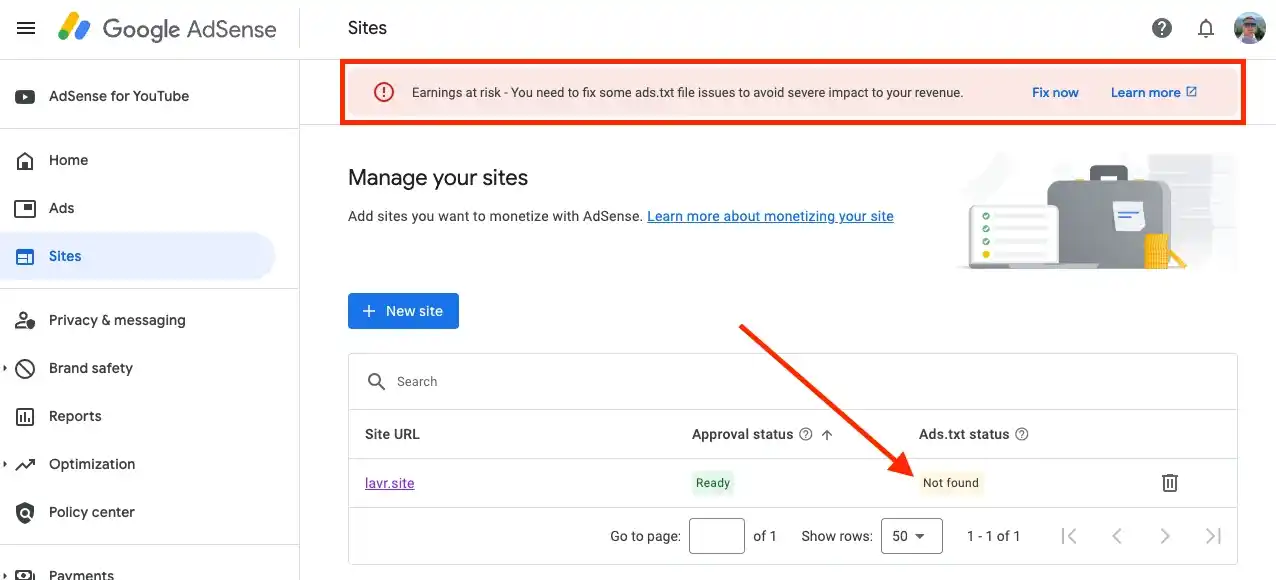
If, after launching your blog on the Ghost platform and connecting Google AdSense, you haven't added an ads.txt file, it won't magically appear on its own.
Clearly, the file needs to be created. Since I was hosting Ghost independently (see Self-Hosting Your Blog: Installation and Setup (Part 2) - Ghost), my first thought was to simply create the file somewhere in the /public directory or a similar location.
However, things weren’t as straightforward as I expected. I created this file in various directories and restarted the blog multiple times using the ghost restart command, but it didn’t resolve the issue.
Ghost Forum
I had to turn to Google search, which led me to a familiar forum and this particular thread.

From this thread, I learned that people resolved the issue using a redirects.yaml file and hosting the ads.txt file on GitHub. I decided to give it a try, and it worked. Now, I’m sharing the solution with you.
Instructions
The solution to the problem is quite simple: you need to host the file with the code provided by Google AdSense somewhere and then set up a redirect to that file using the redirects.yaml file.
It doesn’t really matter where the file is hosted—I used GitHub as a free and accessible platform with a convenient interface (for a programmer, at least). There are plenty of alternatives, so you’re not limited to GitHub—I felt it was worth mentioning.
Create the ads.txt file and publish it on GitHub
To perform these steps, you’ll need a GitHub account and any public repository (preferably your own) where you can create the file.
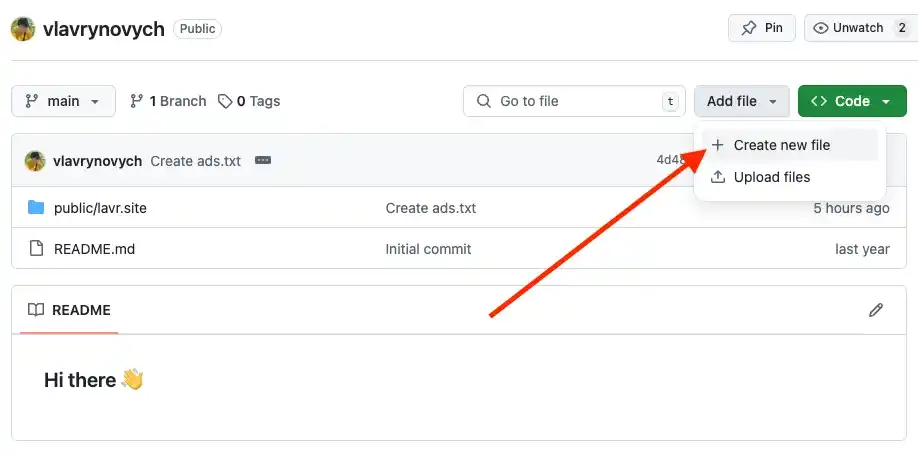
I kept things simple and created the file through the web interface. There’s a button: Add file -> Create new file.
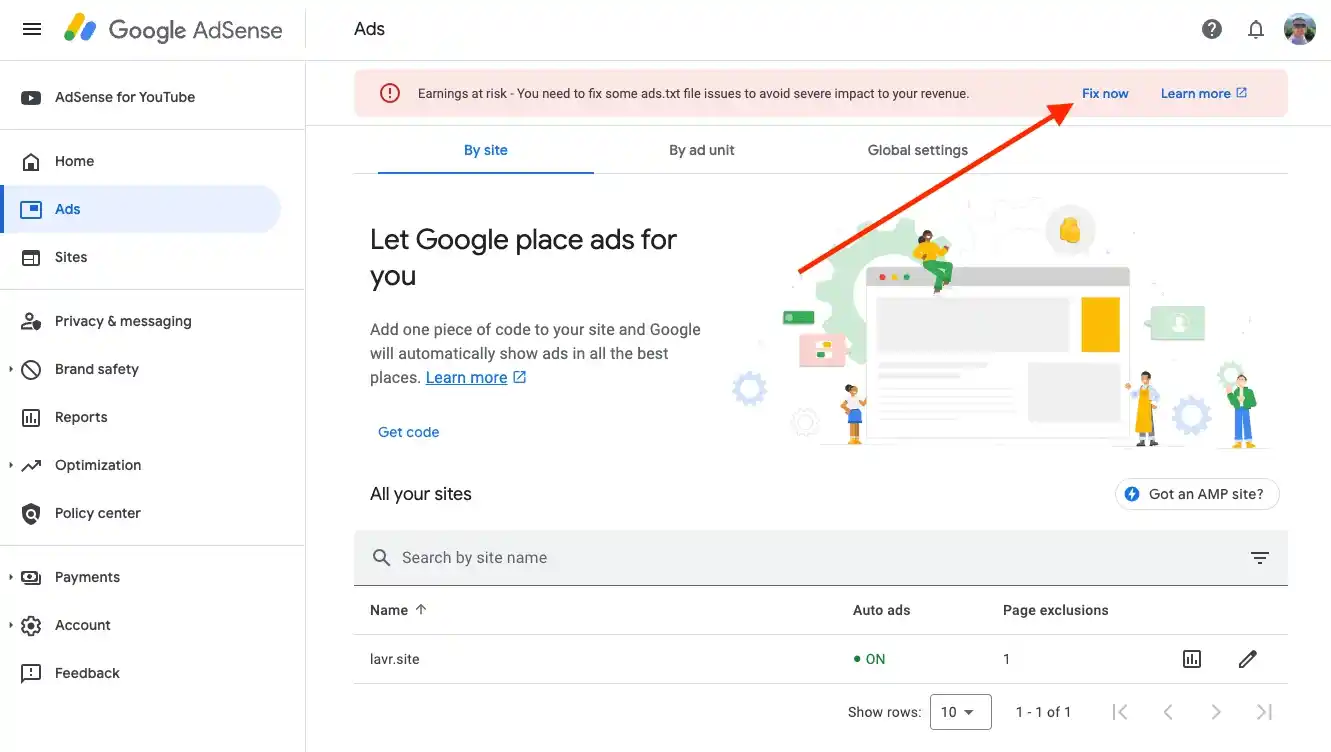
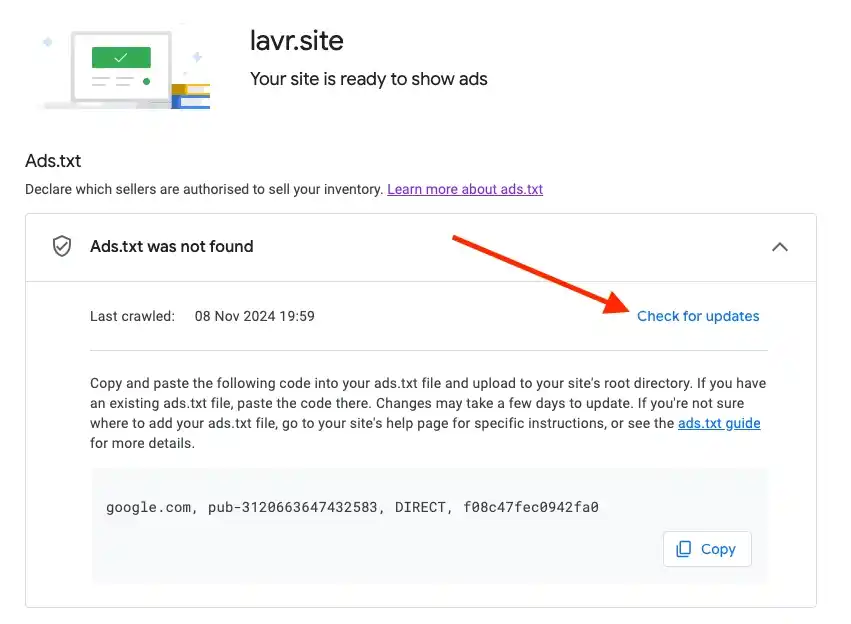
At this stage, go to your Google AdSense account, click the Fix now button, and retrieve the code for the file.
In the next dialog, you will see the required code along with a Check for updates button. You can use this button at the end of the process.
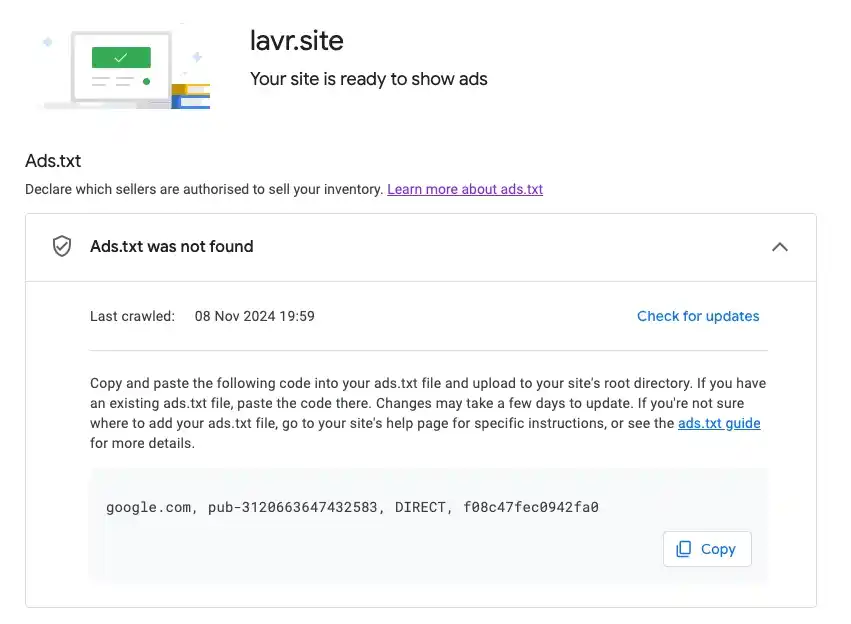
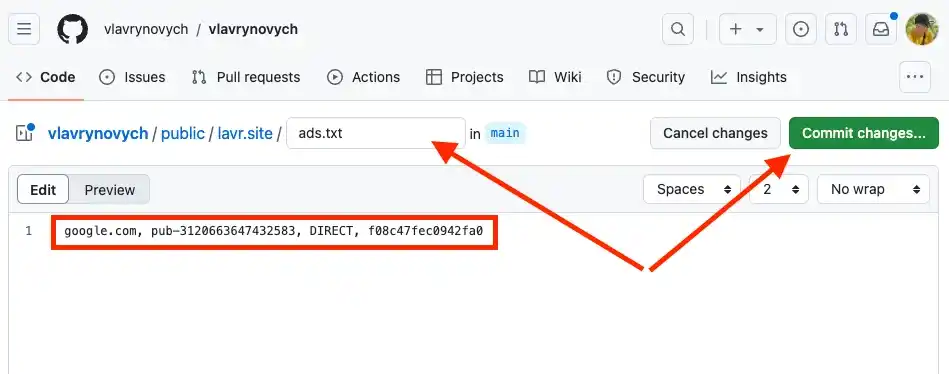
Here’s an example of my code:
google.com, pub-3120663647432583, DIRECT, f08c47fec0942fa0Now, enter the file name—it can be ads.txt or any other name; this part isn’t critical. Add the code you received from Google AdSense and commit the changes (in other words, publish them).
After saving, open the newly created file and click the Raw button to get a direct link to the file. Copy the link from your browser's address bar.
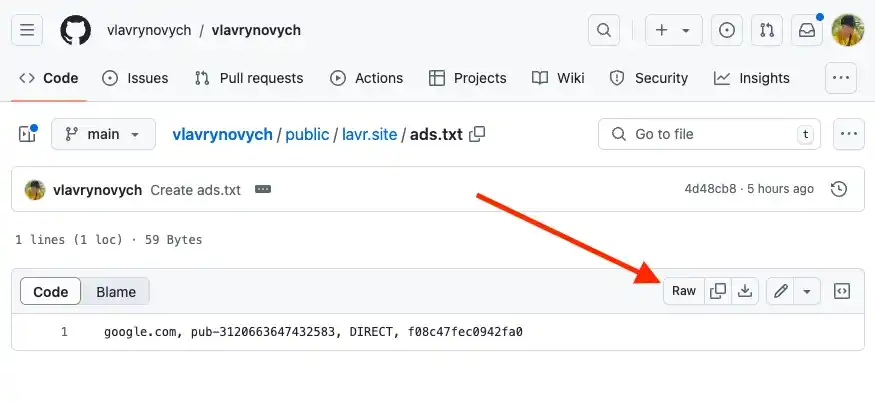
For example, here’s the link to my file on GitHub:
https://github.com/vlavrynovych/vlavrynovych/blob/main/public/lavr.site/ads.txt
And here’s the direct link to the file, which will be needed later:
https://raw.githubusercontent.com/vlavrynovych/vlavrynovych/refs/heads/main/public/lavr.site/ads.txt
Prepare and Upload the redirects.yaml File
Now, let’s move on to configuring your Ghost blog. Go to Settings -> Labs -> Redirects. Here, you can download the existing redirects.yaml file and re-upload the updated version.
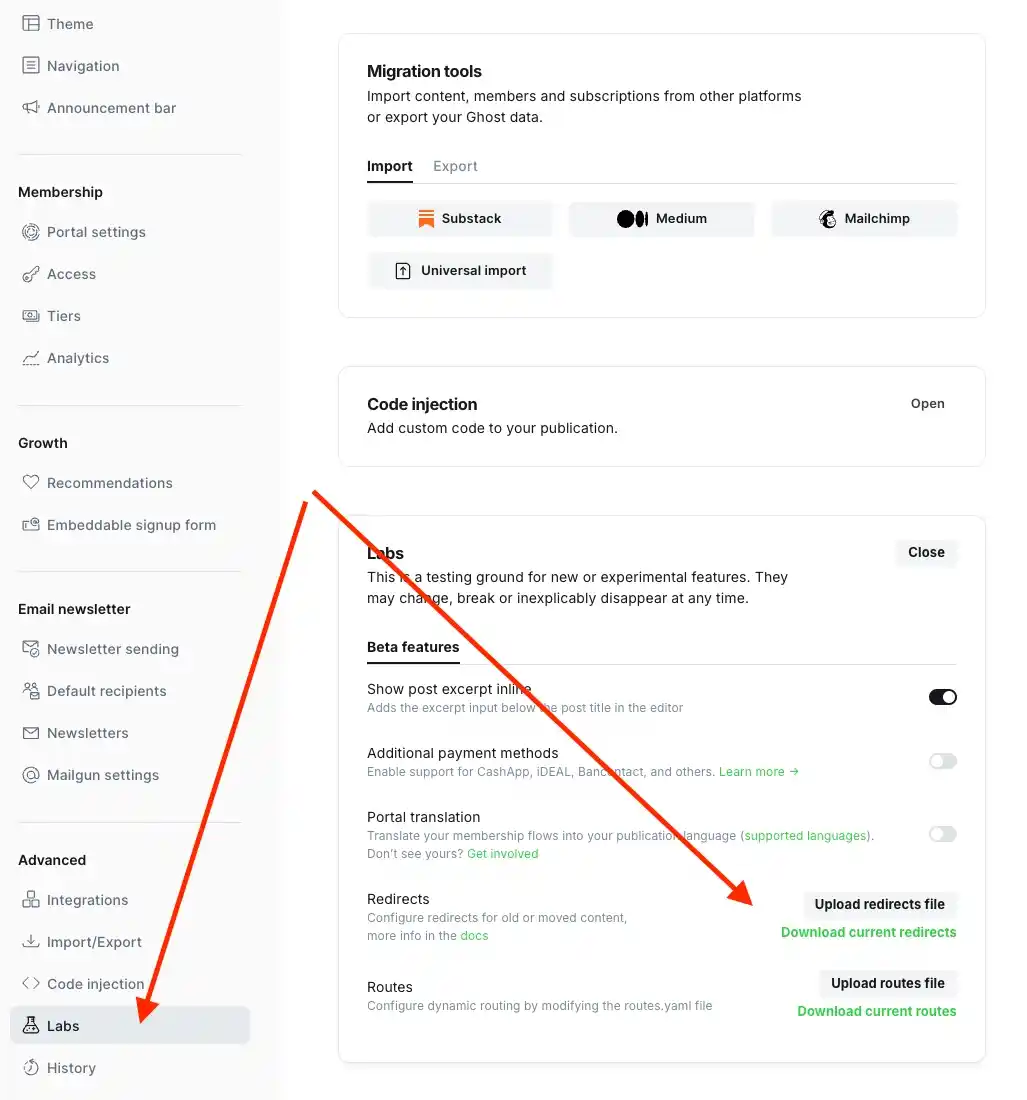
First, download the redirects.yaml file by clicking on Download current redirects.
redirects.yaml.Open any text editor and modify the redirects.yaml file to include an entry for the ads.txt file, as shown in my example:
301:
  /ads.txt: https://raw.githubusercontent.com/vlavrynovych/vlavrynovych/refs/heads/main/public/lavr.site/ads.txt
If you need help with how the redirects.yaml file works, refer to the official documentation.
Upload the modified file back using the Upload redirects file button. The changes will take effect immediately after the upload.
Verification
Now, it’s time to check if we successfully added the ads.txt file to our Ghost blog using the redirects.yaml file.
Go back to the Google AdSense page and click on the link with your site's name.
This time, in the familiar dialog, click on Check for updates.
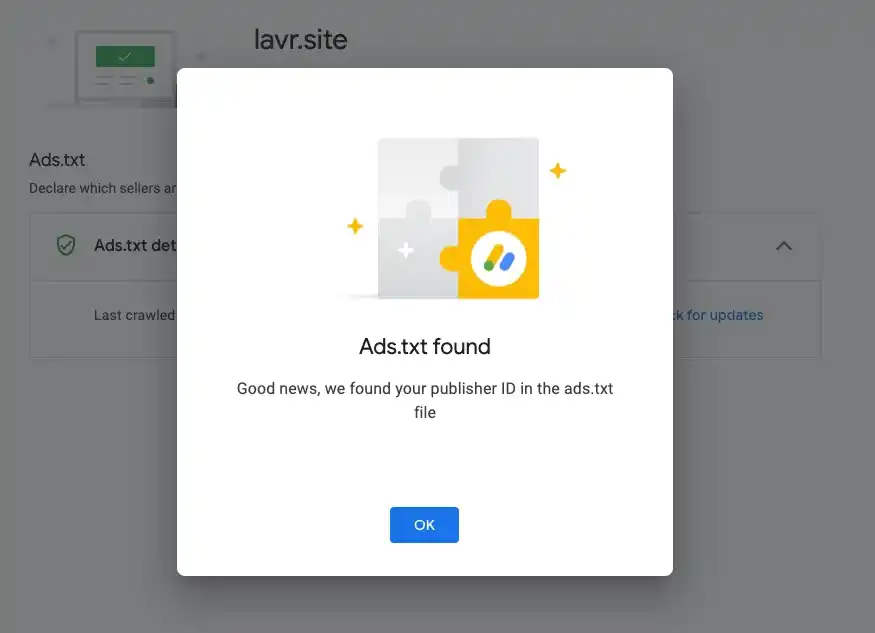
And if the verification passes successfully, you will receive a message like this.
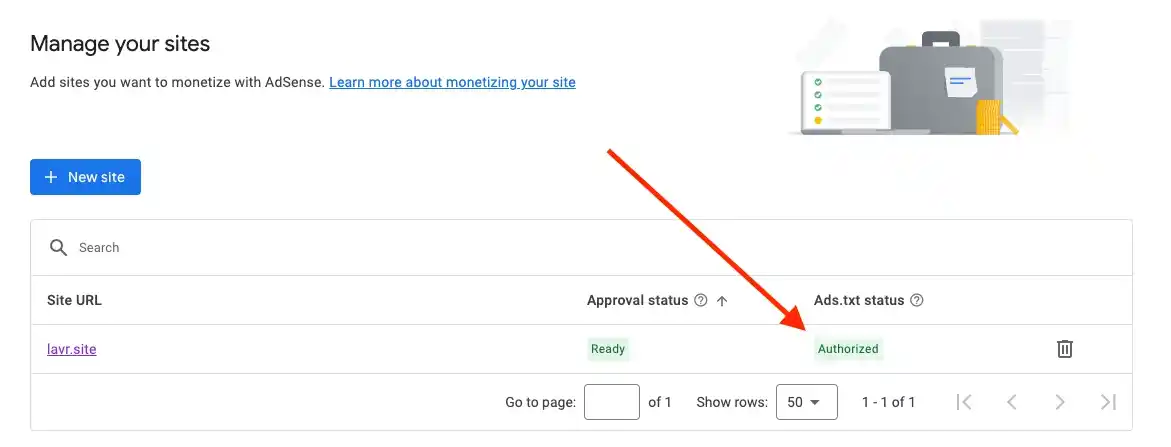
Additionally, the status of the ads.txt file will change to Authorized.
Final Notes and Thoughts
It was disappointing to see that the Ghost platform doesn't provide an easy mechanism for adding files like ads.txt. I believe many blogs rely on advertising. Couldn’t they have added a feature similar to the one for working with redirects.yaml files, where the upload happens via the admin interface? Let’s consider this a rhetorical question.
I hope that neither the creation nor the editing of the redirects.yaml file was difficult. I tried to include as many images of the process as possible for clarity.
Thanks to the forum members for finding a solution to this issue. My attempt to access the file system and create the files there would eventually have led me to Nginx settings, which I would strongly advise against—it would have significantly complicated such a trivial problem.
I'm glad for you if you also successfully managed to add your own ads.txt.
I wish everyone great earnings on the Google AdSense platform!
Also, check out my other posts about Google services.