How to update Ghost blog
Updating your Ghost blog is straightforward with the right steps. In this guide, I cover backup procedures, updating npm, Ghost CLI, and Ghost itself, along with ensuring everything works smoothly afterward. A quick and efficient process for a seamless update.

Intro
In every blogger's journey, especially those who self-host their blogs, there comes a moment when the desire to update outweighs the fear of completely breaking the site. Today, I decided to take the plunge and update Ghost to a newer version.
This article will be useful for those who have a similar tech stack—namely Proxmox VE + Ubuntu LXC container + Cloudflare—as well as for everyone else, as the core set of commands is virtually identical.
Update Process
The goal of updating, of course, is to gain access to the new features of the Ghost platform. However, before we begin, it’s important to plan the steps carefully:
- Create a backup.
- Update npm.
- Update Ghost CLI.
- Update Ghost.
- Ensure everything works as expected.
- Perform additional checks.
- Keep the backup for at least a month to allow for a full restoration if needed.
Sounds like a good plan? Let’s give it a try!
Before we begin, it’s worth noting that there is an official guide from Ghost. However, in my opinion, it tends to be more confusing, especially for beginners.

Backup Before Starting
If you have a tech stack similar to mine with Proxmox VE, then you already know this is the easiest part. For those interested in how I set up my blog, feel free to check out the following posts.


Or explore the collection featuring many other posts about the Ghost blog.

If you use a different technology stack, create a backup using any method available to you. This step is crucial.
As for us, we can create a full backup of the LXC container with Ghost in just one click.
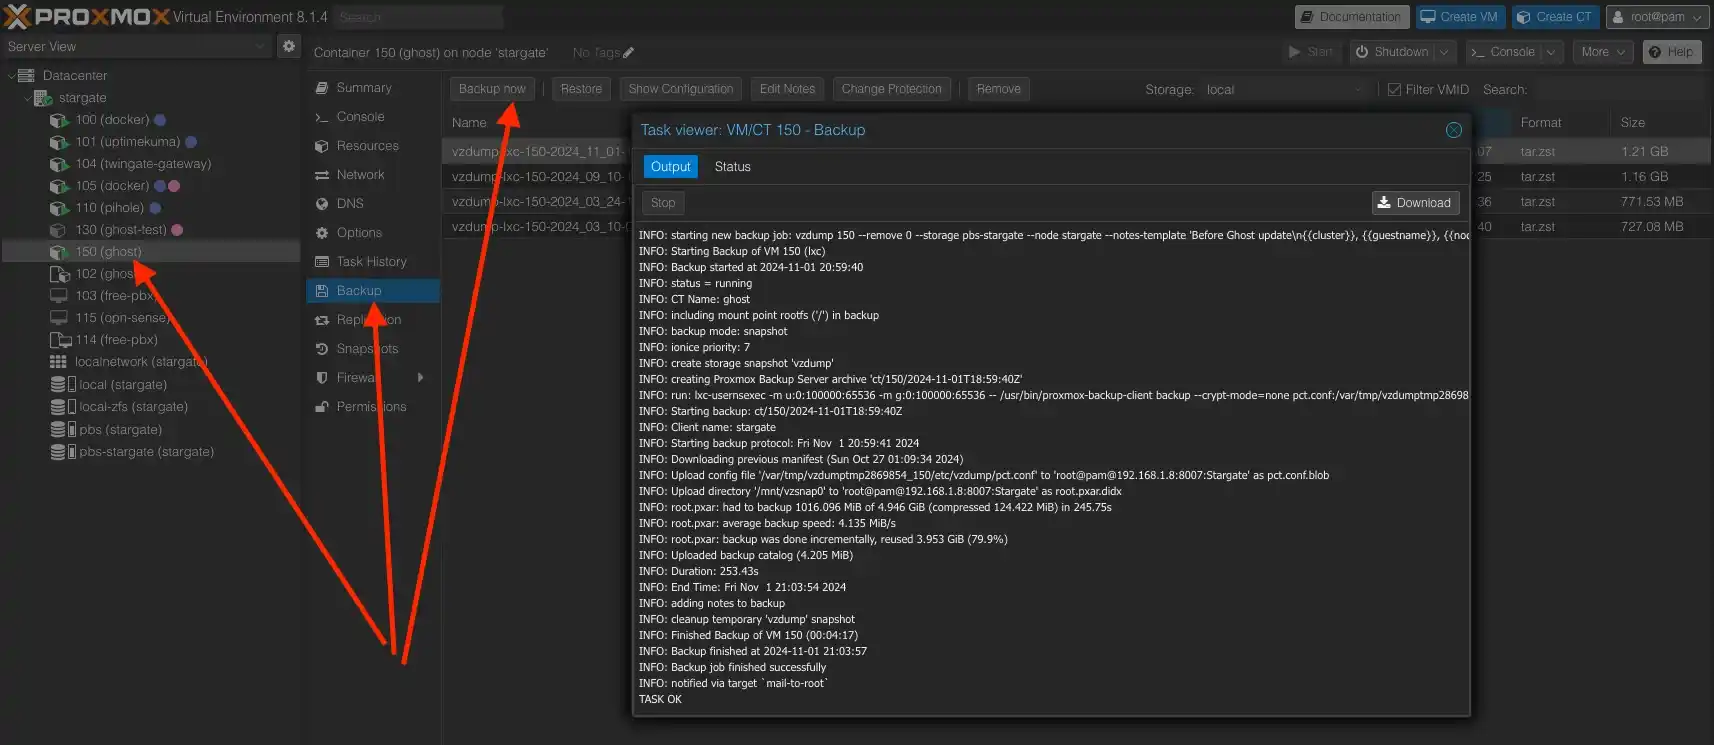
Only after ensuring we have a backup can we proceed with the update commands.
In case of any issues during the update process, especially critical ones where the Ghost blog stops functioning, all we need to do is restore the container from the backup to its pre-update state. By troubleshooting gradually, you can attempt to resolve the issues and progress further, restoring to the saved point as many times as needed in case of failure.
From this point on, all commands will be executed in the console of the LXC container with Ghost.
Checking Current Versions
To track progress, let’s first record the current versions.
Start by running the following command:
ghost statusThe output will provide information about the running blog, including its location, version, port, and more.

We also need to check the versions of npm and Ghost CLI:
npm -v
ghost -v
The result should provide the following versions:
- npm: v10.3.0
- Ghost CLI: v1.25.3
- Ghost: v5.80.2
Updating npm
This is a standard procedure for almost any application written in Node.js.
The simplest way to update is by running:
sudo npm updateAlternatively, if you know the specific version you want to update to, you can use:
sudo npm install -g [email protected]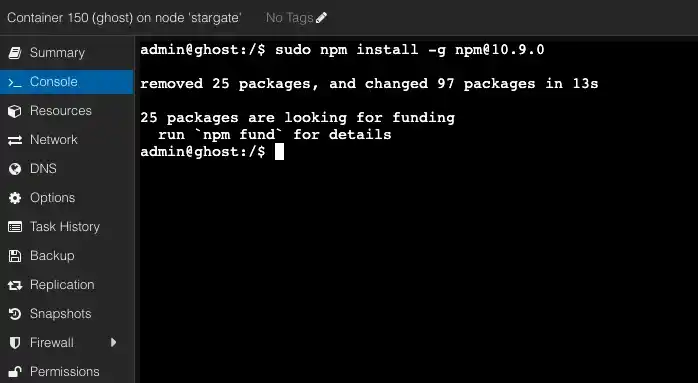
Now, npm has been updated to version 10.9.0.
Updating Ghost CLI
To update the Ghost CLI, run the following command:
sudo npm install -g ghost-cli@latest

Verify the version again with ghost -v and the output should now display:
Ghost-CLI version: 1.26.1
Updating Ghost
We’ve reached the most critical part. At this stage, errors may occur, and based on what I’ve seen on the Ghost forum, they can be quite diverse and interesting.
If you encounter issues, don’t hesitate to reach out to the Ghost community for advice and support.
*.hbs files in /var/www/ghost/content/themes, make sure to save these changes separately and restore them after the update.To update Ghost itself, navigate to the directory where your Ghost blog is installed. Here are the commands:
cd /var/www/ghost
ghost update
The update process will begin, and it may take some time, as shown in this image.
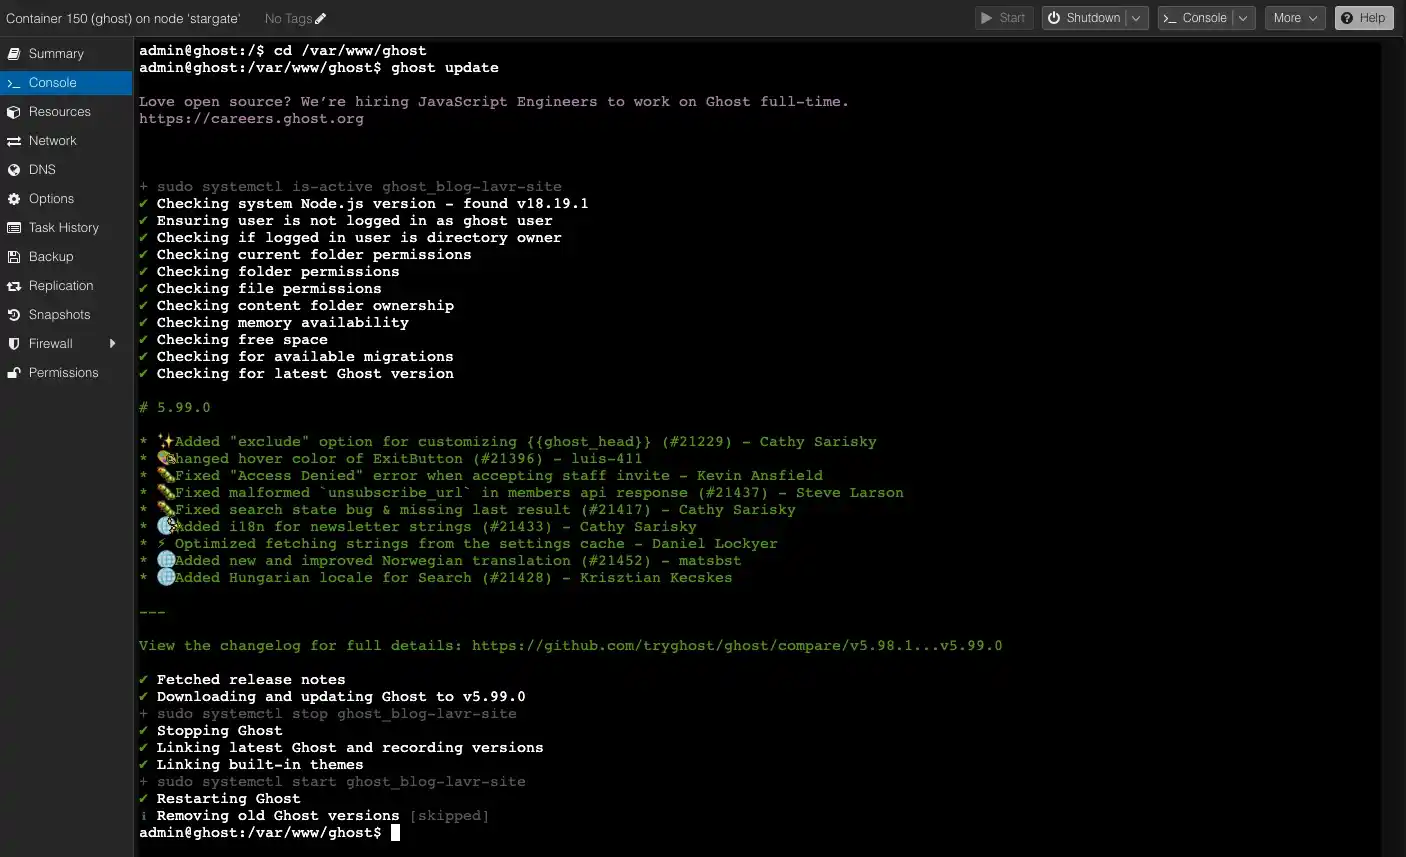
Done! My blog is now updated to version 5.99.0.
It took me about 5-7 minutes, with approximately 1-2 minutes of downtime when the site was unavailable for reading. However, all users could see a message like this:
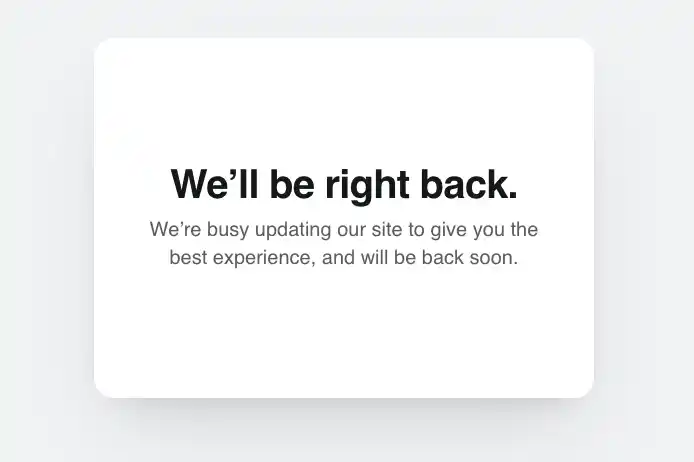
In my case, everything went smoothly and quickly. However, the backup still provides peace of mind, so don’t skip it.
Ensure Everything Works
This is a very important step. You need to check whether you can access your blog as both a user and an author. I recommend trying to edit a draft or make minor changes to published posts. Pay as much attention as possible to this step.
Even when everything works as expected, I strongly advise against deleting the backup. Keep it for about a month if possible, and only then remove it. A month should be enough time to make sure everything is fine.
Don’t forget that any integration may require additional checks. It wouldn’t hurt to run a speed test using tools like PageSpeed Insights, which I’ve written about here: Page Speed Optimization - PageSpeed Insights.
Additional Check: Ghost Doctor
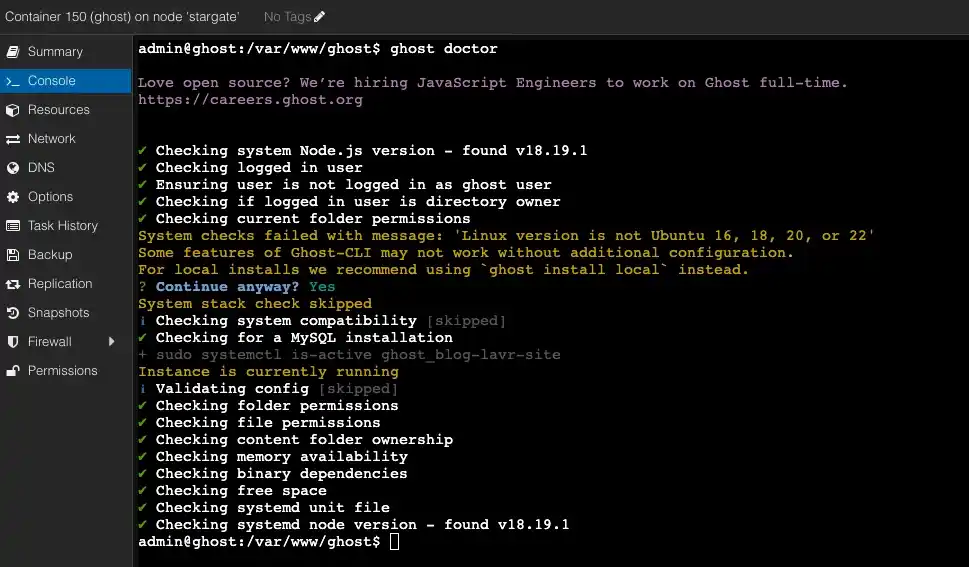
I was once surprised to discover that Ghost has its own doctor. This is one of the commands that can help identify issues and even recommend potential solutions.
In the same directory as your blog, run the following command:
ghost doctor
This command will initiate a series of checks on various systems and configurations of your blog. If there are any issues, you'll be notified. In my case, everything was mostly fine.
Final Notes and Thoughts
If you regularly update your blog, especially when you've also configured your server yourself, the number of issues will be minimized.
However, it’s always necessary to make backups and be able to restore your server to a stable version. This might be needed even for minor changes or updates. I strongly recommend this—it will save you valuable hours of your life and nerves.
Updating your Ghost blog essentially comes down to executing a few commands in the console and performing thorough checks afterward. In normal circumstances, all steps should take no more than 10 minutes, which is great.
Personally, I don’t update my blog every time a new version is released or every month. I update when there’s a real need.
Ghost has its own Changelog, where you can check what features your current version is missing, and only update when something interesting is available.
You can find detailed descriptions of each version's changes on GitHub: Ghost Releases.
That’s exactly what I did because I wanted to get the following updates:

I’ve already had the chance to check these updates and am glad everything went smoothly.
I wish you reliable backups, interesting and easy updates, and peaceful skies!


