Home Assistant: Imou Life Camera Integration
Learn how to integrate the Imou Cue 2C 1080p Indoor Camera with Home Assistant for seamless smart home control. Follow the step-by-step guide from installation to developer registration and setup, and discover the camera's key features for optimal home security.

Introduction
Home Assistant doesn't have built-in support for Imou Life cameras, but third-party developers have already come up with solutions for this issue. It's great that HACS serves as an aggregator for such solutions, allowing you to quickly install and use new components and integrations. In just a few simple steps, we'll get everything set up together. Grab a coffee and let's get started!
Imou Cue 2C 1080p Indoor
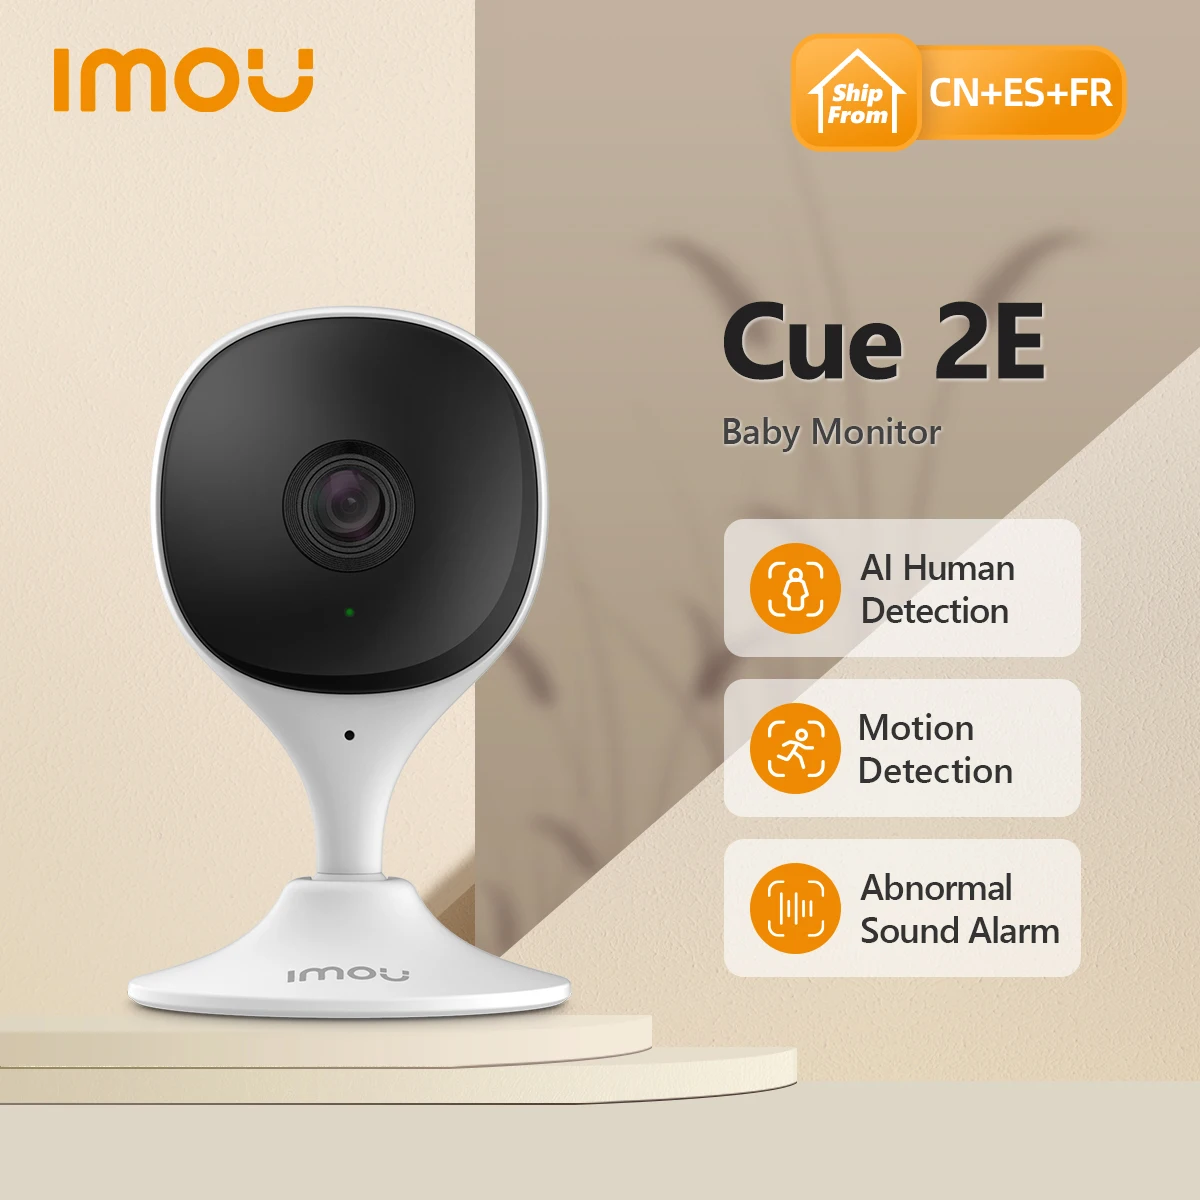
I purchased an Imou Life camera from AliExpress for $16.5. Of course, it was bought out of curiosity, but in reality, it turned out to be quite decent.

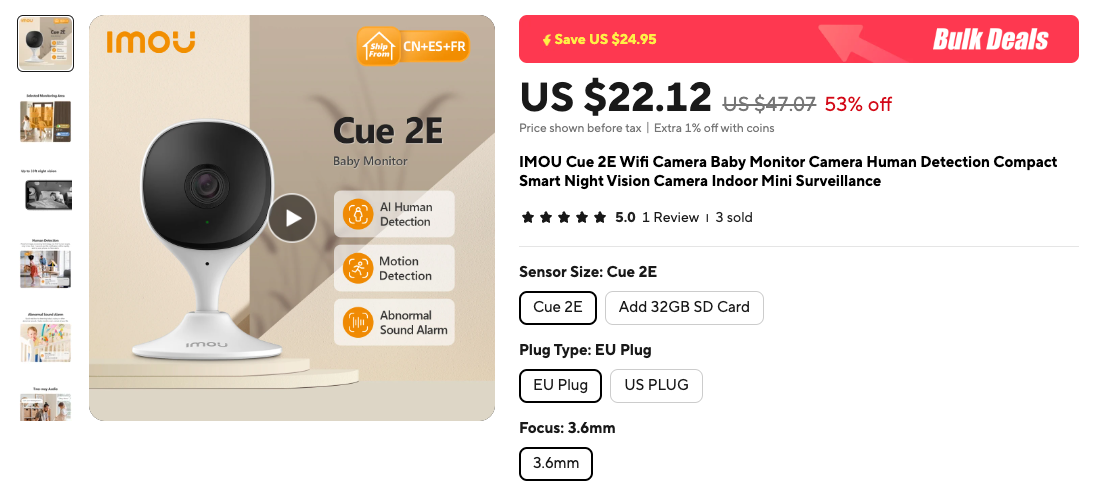
At the time of writing, I see the price is already at $22.12, which makes it less attractive, but I recommend waiting for discounts. I'll leave a link to it.
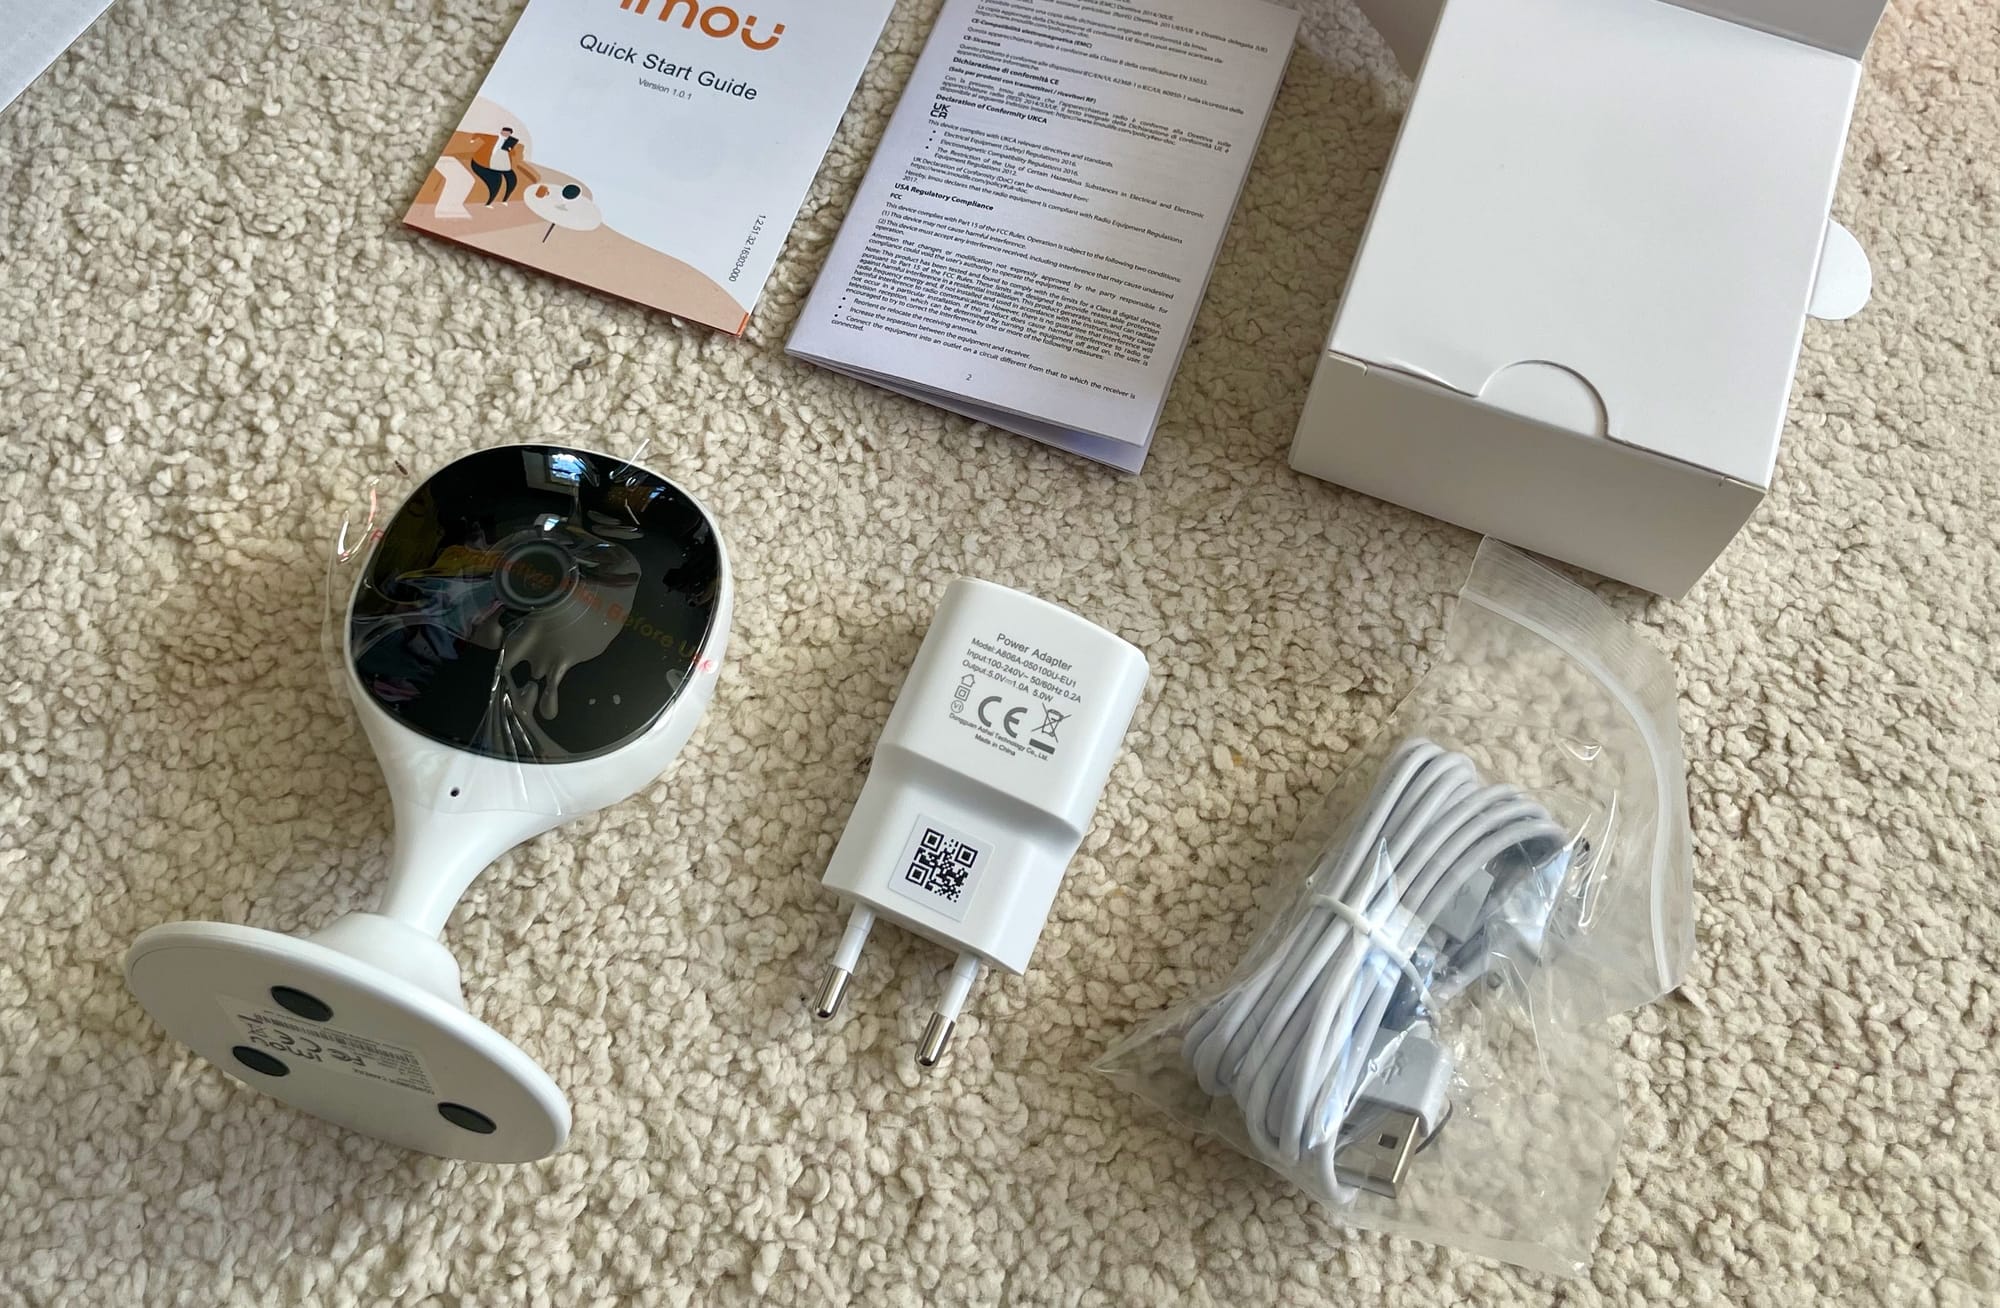
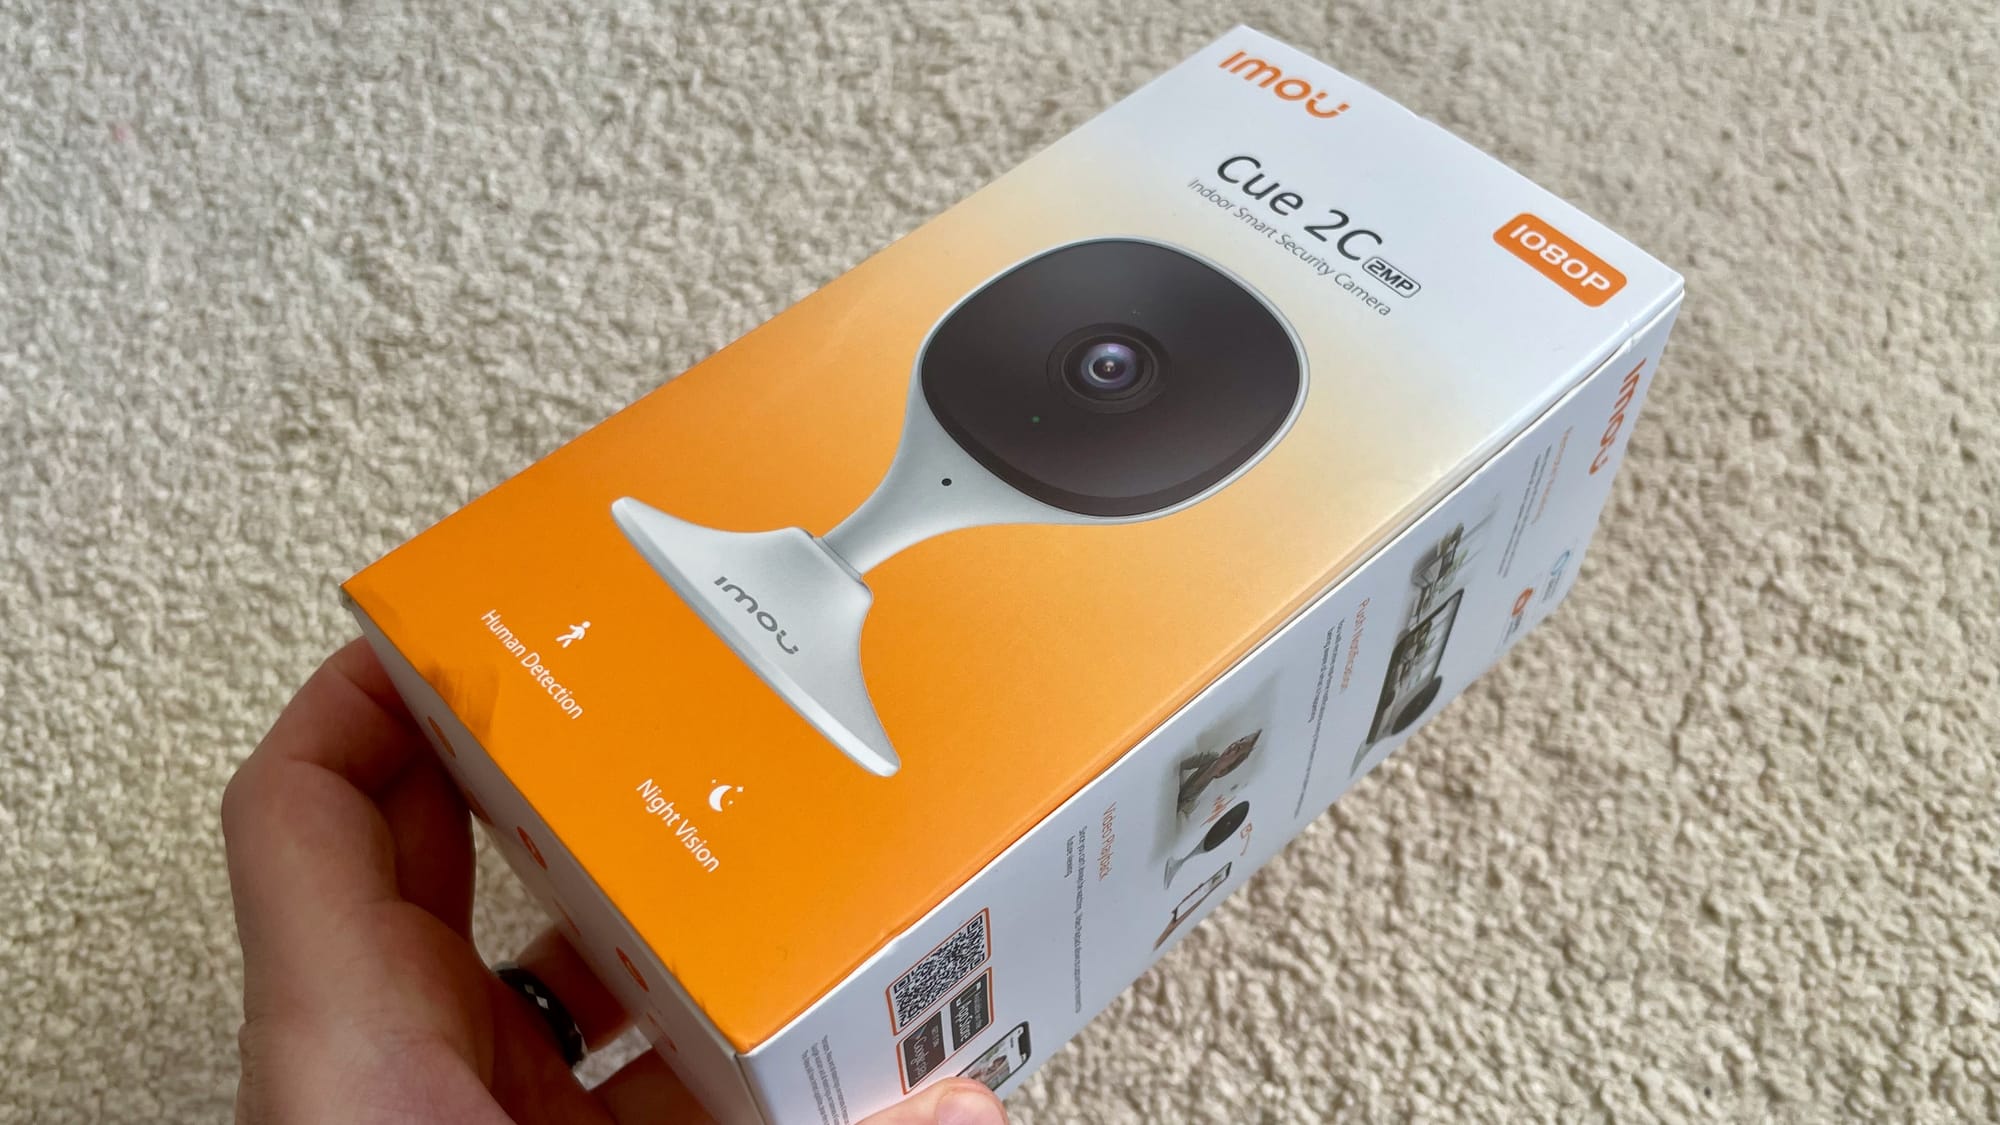
The delivery was in a sturdy box with standard packaging. I have no complaints about the quality of the materials.
The image quality was better than I expected. The photo below is not an example of maximum quality, it's just added for understanding color reproduction.
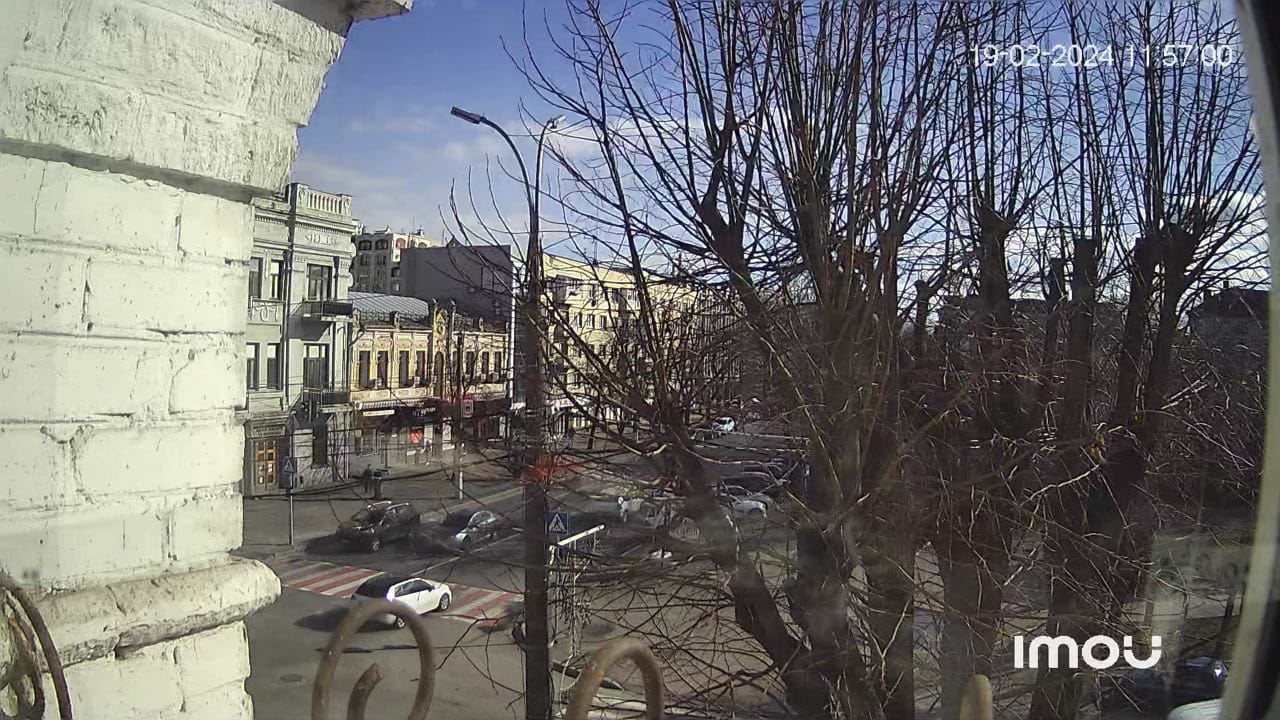
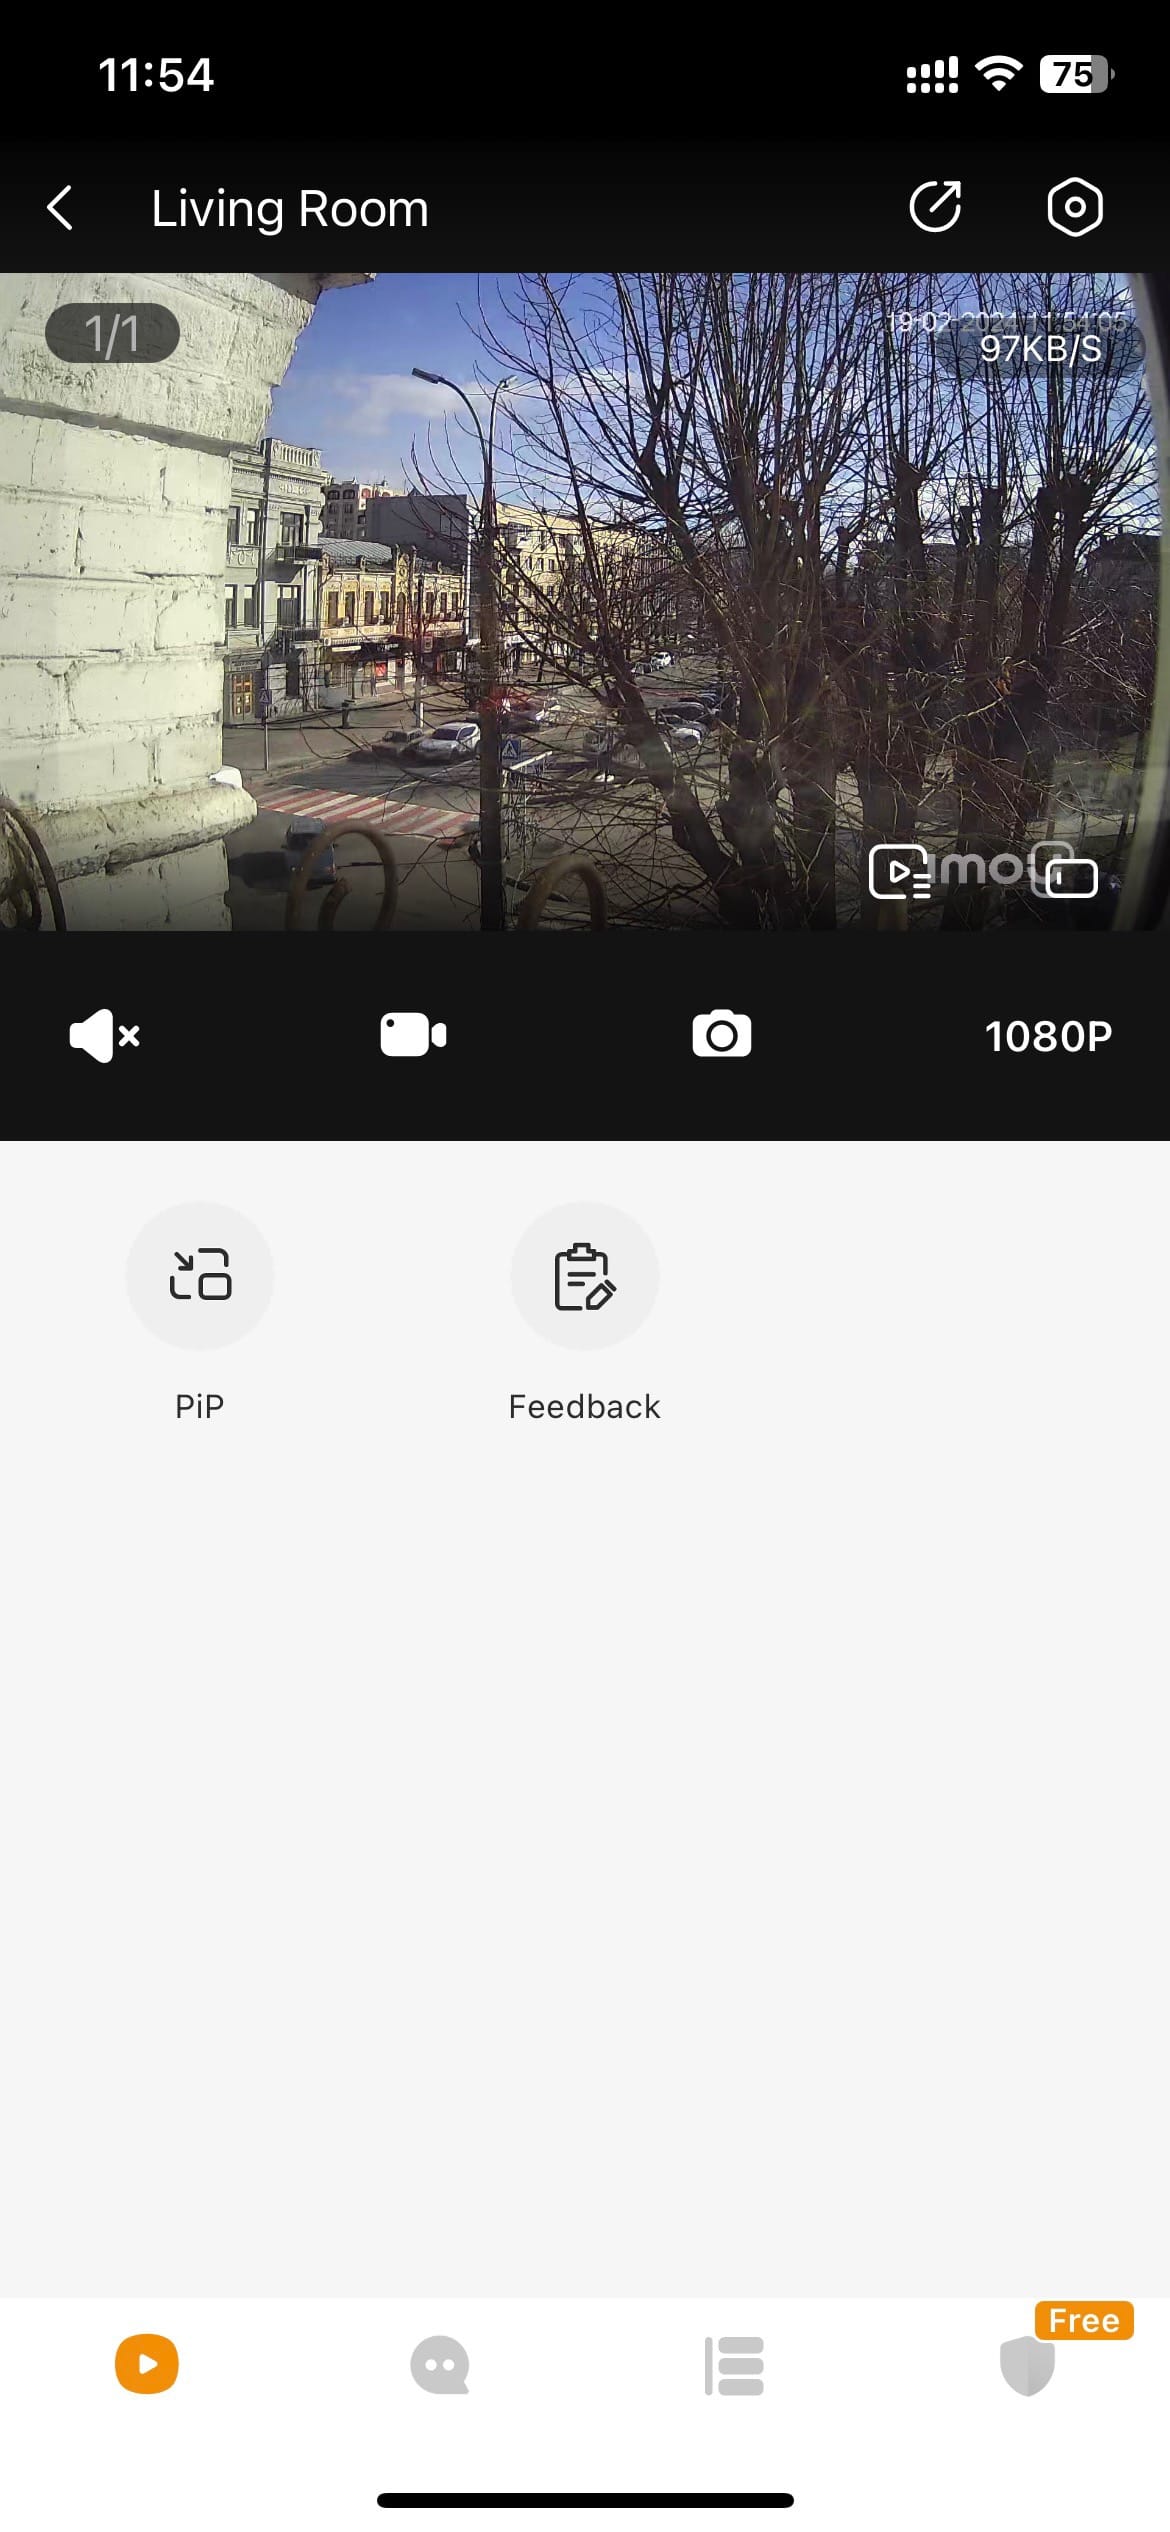
To view the image, you'll need an app where you'll have online access to the camera and all recordings stored on the flash drive. In short, it's a typical modern camera, and it's also affordable.
However, the specific model of my camera is not crucial to today's conversation because we will be integrating with all supported Imou Life cameras.
Installation
To install it in Home Assistant, you'll need the Home Assistant Community Store (HACS). It's the most convenient way, and it won't take much of your time.
Learn more about HACS on the official page: https://hacs.xyz/
Step 1. Add Repository and Install
If you don't find Imou Life among the integrations in your HACS search, you'll need to add the repository. In HACS, in the upper right corner, choose "Custom repositories" from the context menu, and in the dialog box, enter the link to the developers' repository: https://github.com/user2684/imou_life
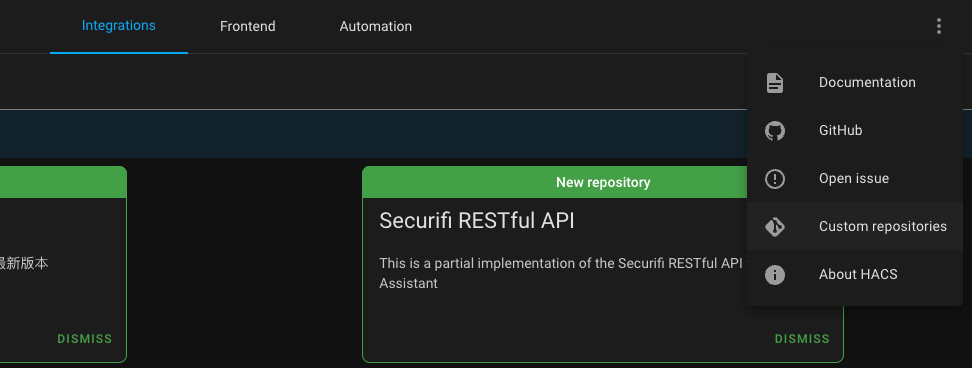
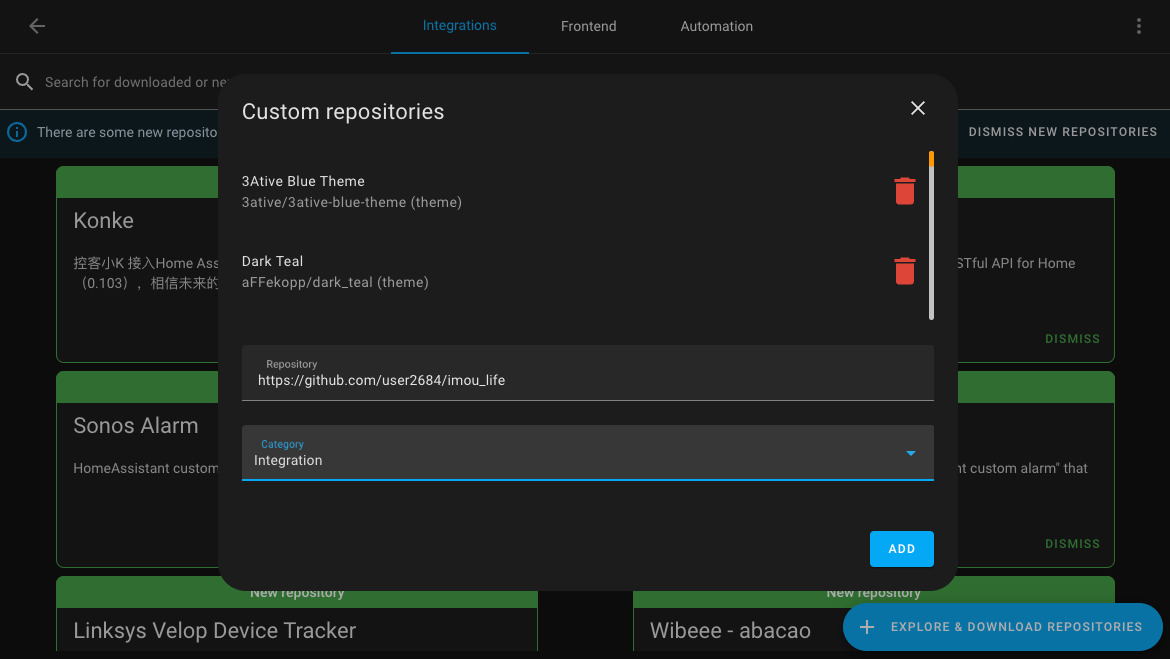
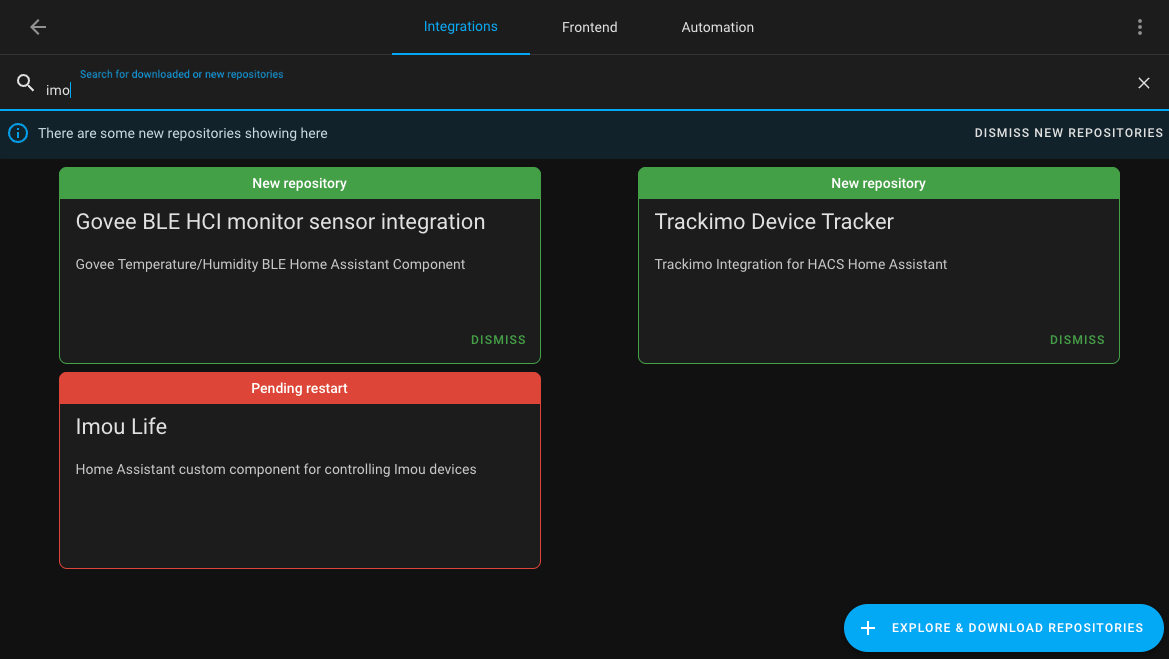
Now download the added integration in HACS and restart the Home Assistant server.
Step 2. Developer and App Registration
Now you'll need to register or log in here: https://open.imoulife.com
After successfully logging in, go to Imou Console to create an app: https://open.imoulife.com/consoleNew/myApp/appInfo
Navigate to "My App," "App Information," and start editing. Fill in all the necessary fields and save. It should look something like this:
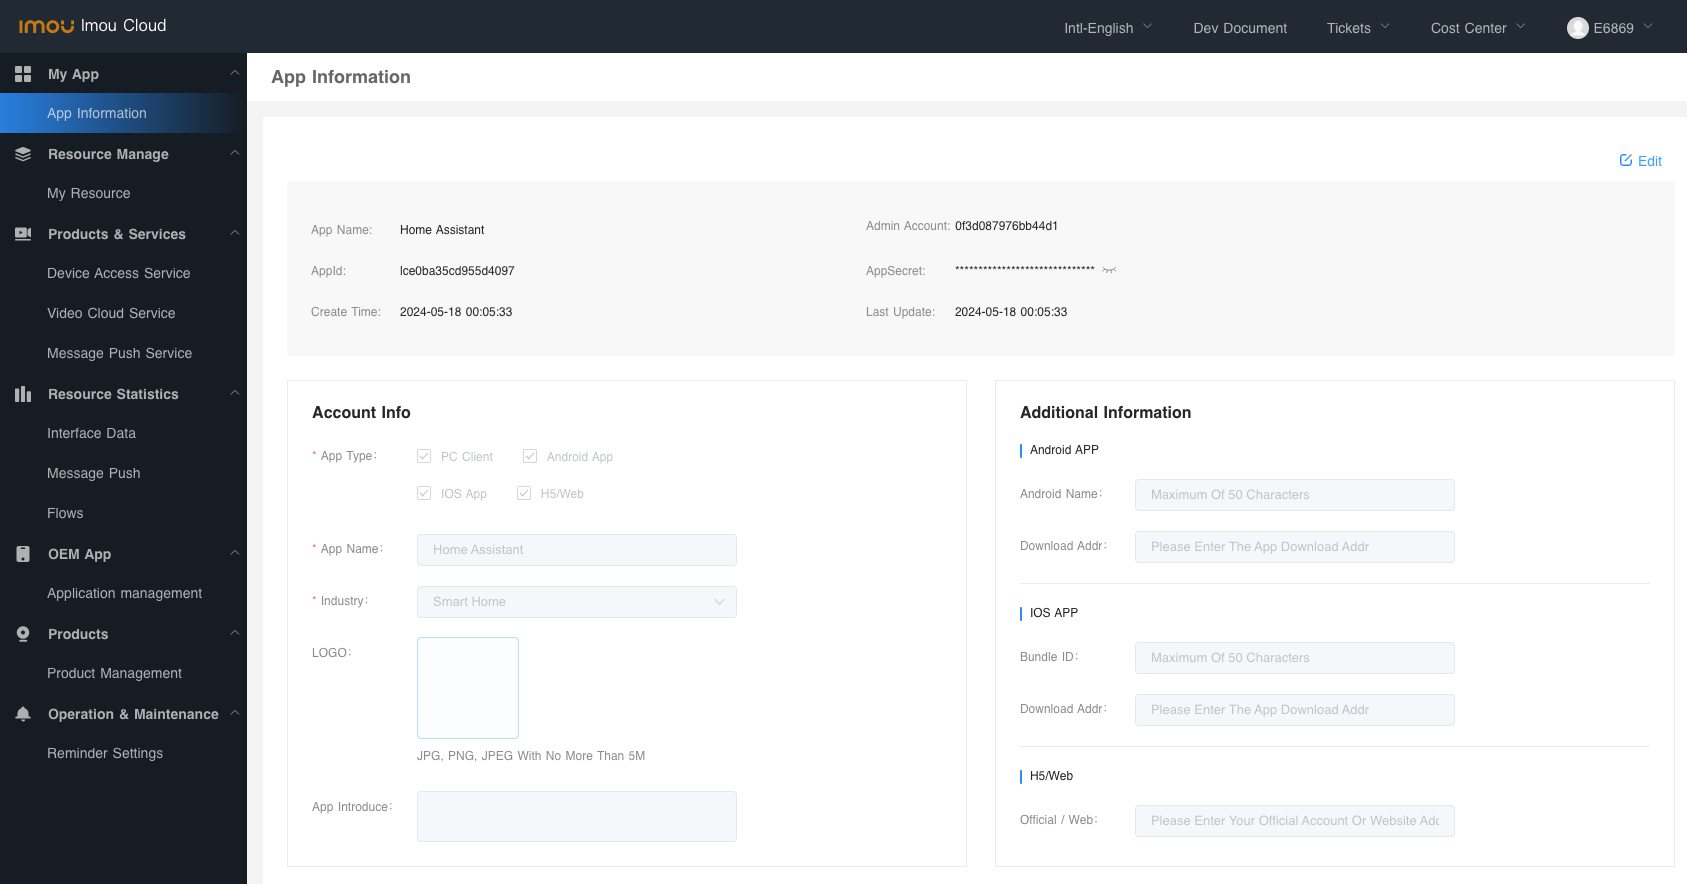
You'll only need the AppId and AppSecret, which you should copy for the next step.
Step 3. Setting up Imou Life Integration
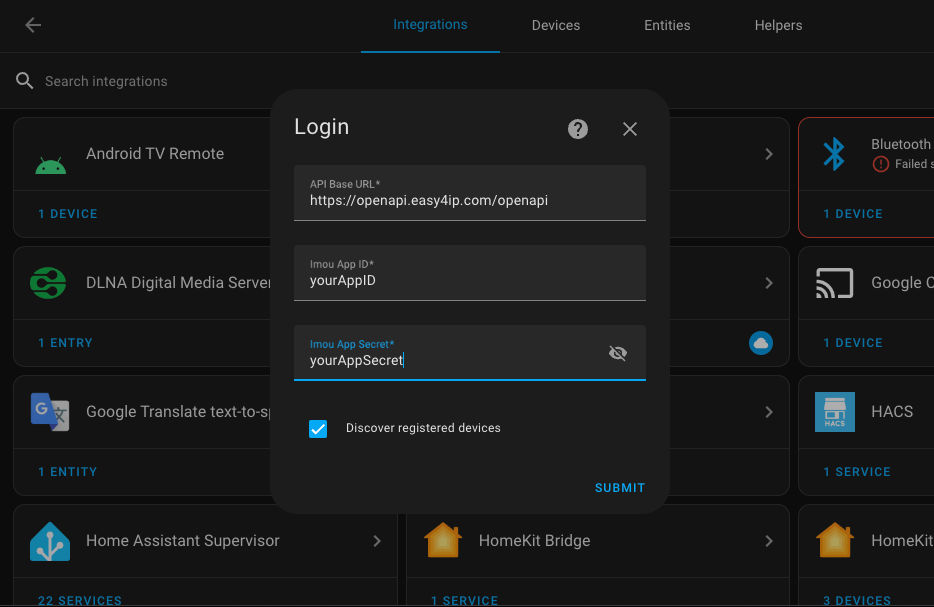
Now, let's go back to your Home Assistant server. Navigate to "Integrations" in the settings and click on "Add Registration." Choose "Imou Life" from the list and fill in the information by entering the AppId and AppSecret from the previous step.
Сamera overview
After successfully adding the integration, and assuming you have a previously connected camera, you'll immediately gain access to the new camera.
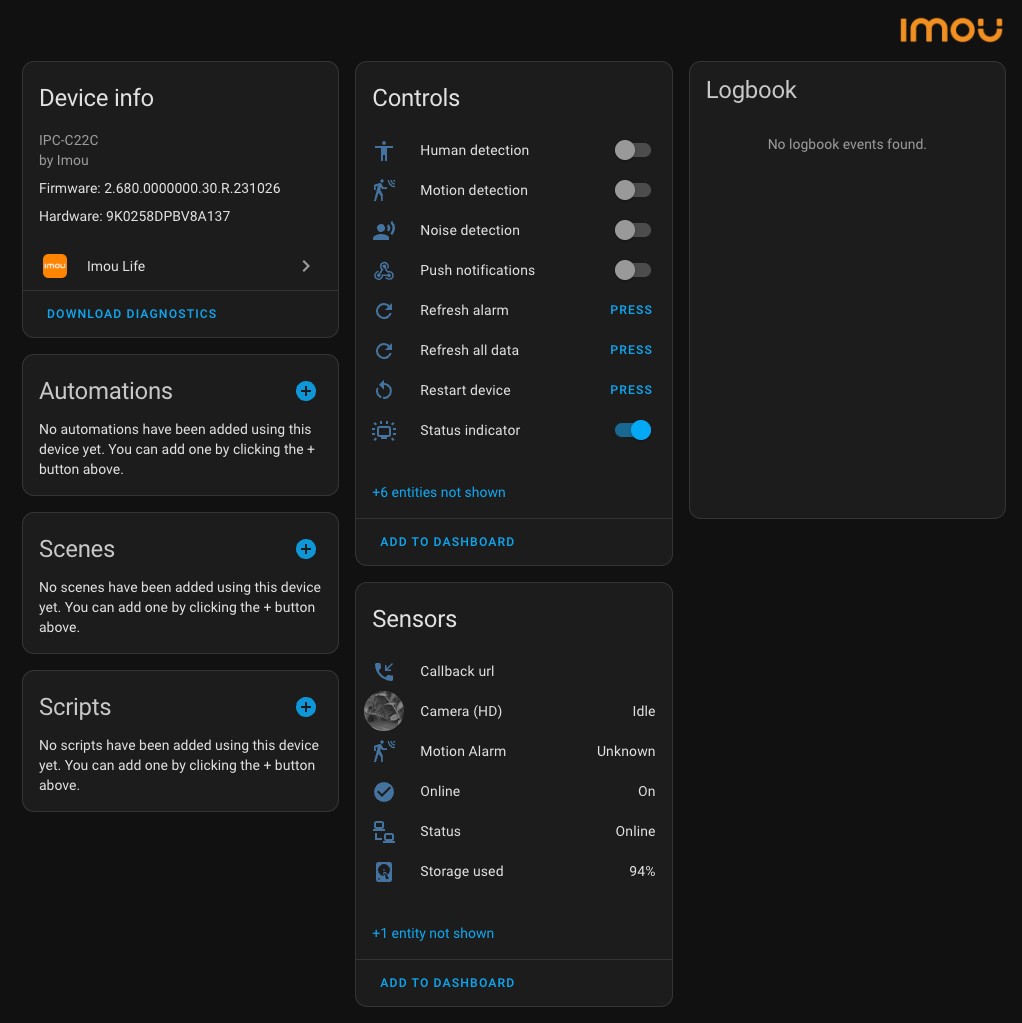
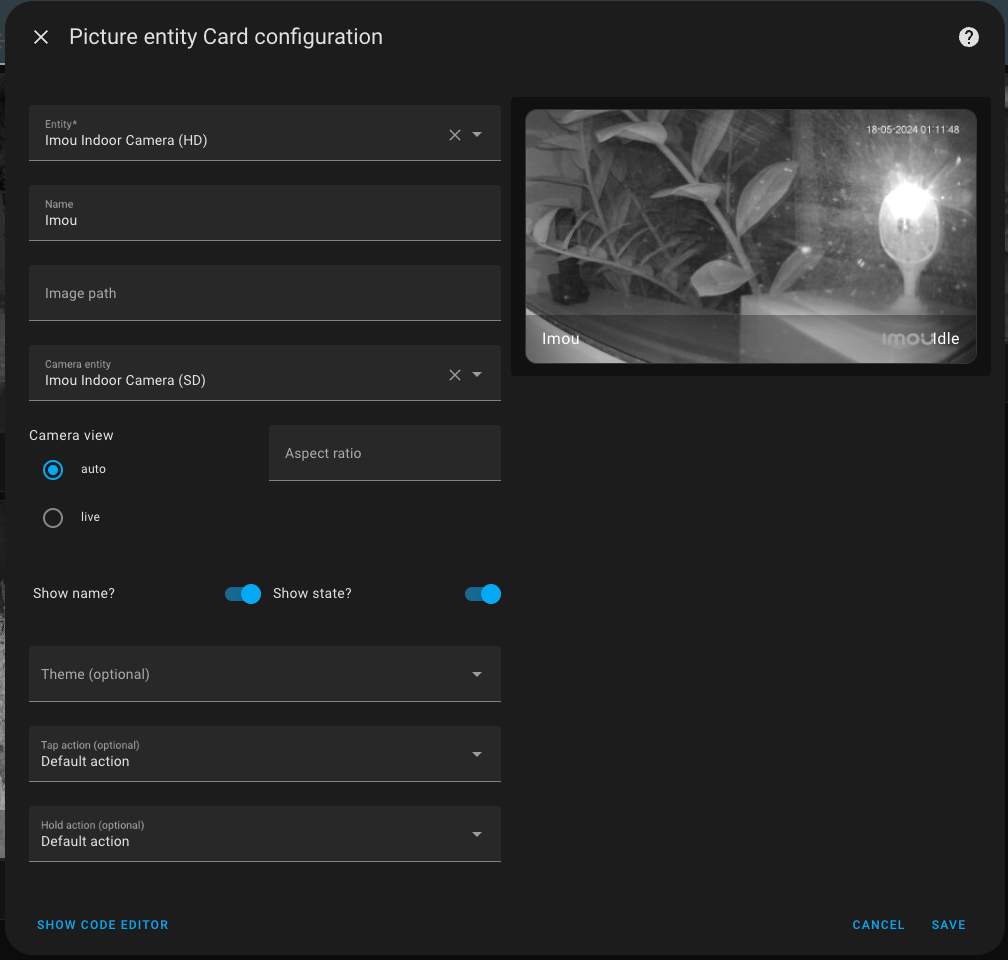
Among the hidden sensors, there is the "Camera (SD)" which I recommend enabling and using in various integrations. Especially when creating cards, as in the example below.
Сonclusion
Cheap Imou Life cameras integrate easily with Home Assistant if you have HACS and a few minutes of free time. Overall, I got everything I needed for full camera integration into the smart home. The basic set of sensors, including two streams in SD and HD quality, as well as numerous controls, make this camera convenient to use and configure even without the native app.


