How to migrate code and issues from Bitbucket to GitHub
GitHub now offers unlimited private repositories with up to three collaborators, making it an appealing alternative to Bitbucket. In this guide, I'll walk you through migrating your code and issues from Bitbucket to GitHub seamlessly.

As you may know GitHub announced that now we can have unlimited private repositories with up to three collaborators. I believe that many of us desired to have this and used Bitbucket only because of free private repositories. Now we have a chance to use GitHub private repositories at no cost. And I’ll tell you how to migrate your code and issues from Bitbucket.
Import project
This is the easiest part. Go to: https://github.com/new/import
Specify source repository, new name of repository and type (public or private). On this step you do not have any place to specify credentials of your Bitbucket repository, but do not worry.
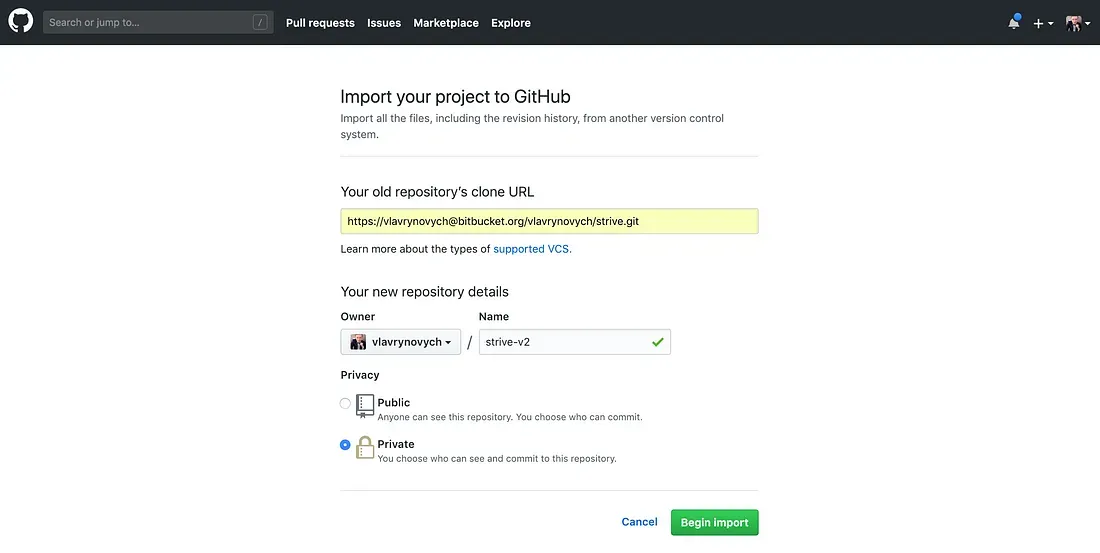
When you click Begin import button you will be redirected to the import progress page
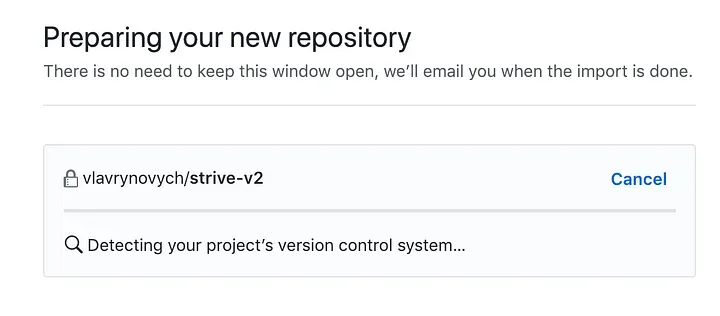
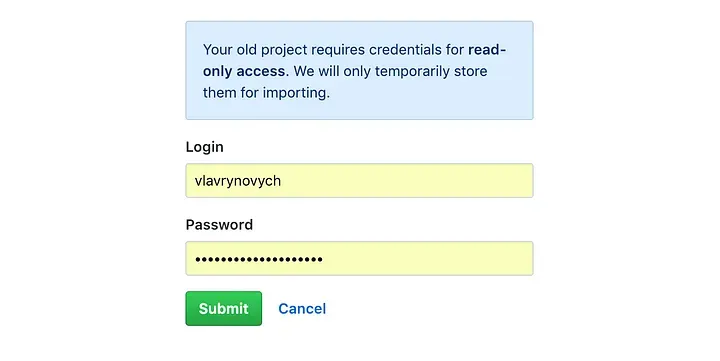
If the source repository is private then simply refresh this page and you will see two field where you can put your credentials.
After this step the import will continue and you will see the progress again. In a result you’ll see this
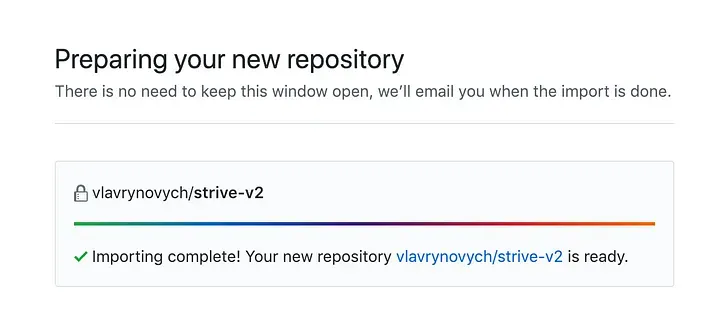
Great! The main part is done! In most of the cases this is the end.
Import issues
Migration of issues from Bitbucket to GitHub — this is an interesting question. Does the GitHub has any mechanism to do this? No, and yes. GitHub has an API which allows for developers to create a tickets.
I’ve found this solution: https://github.com/viniciusban/bitbucket_issues_to_github
Install and setup migration tool
First of all we need to download repository using the button
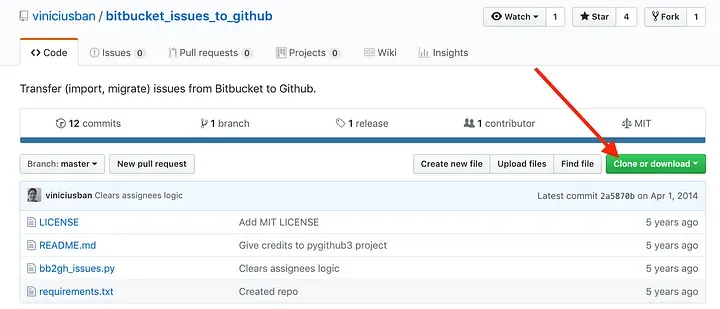
Then unzip the downloaded archive (using double-click on MacOS), open terminal and switch to the folder:
cd /Users/vlavrynovych/Downloads/bitbucket_issues_to_github-masterAccording to the guide you will need to install dependencies:
pip install -r requirements.txtIn my case I faced a couple of issues, so I’ve updated packages (You may not need this):
pip install --upgrade pip
pip install --upgrade requests
pip install --upgrade pygithub3
Also, I wanted to import all the issues with proper assignee information, so according to the guide we need to tweak the source file of the tool. Let’s open up it in the editor.
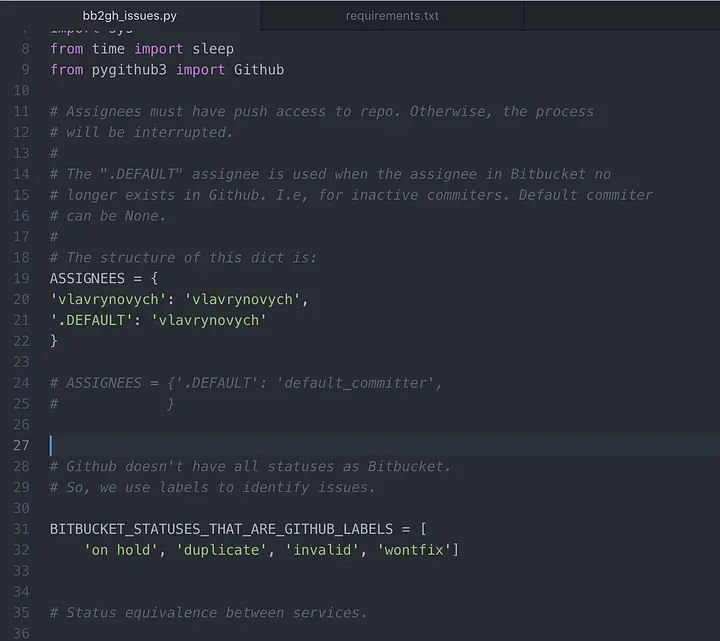
You need to update line 21 from my screenshot
We will set the default username for all of the cases and mapping between usernames in Bitbucket and GitHub
So, changing it to:
ASSIGNEES = {
    '.DEFAULT': 'vlavrynovych',
    'vlavrynovych': 'vlavrynovych'
}
In my cases I have same usernames in both systems.
If you do not need to transfer assignee information you’ll need to add additional argument —-no-assignees
Now we are ready for using this tool, but what we gonna import?
Export issues from Bitbucket
For that we have to open our Bitbucket repository and go to the Settings -> Issues -> Import & export
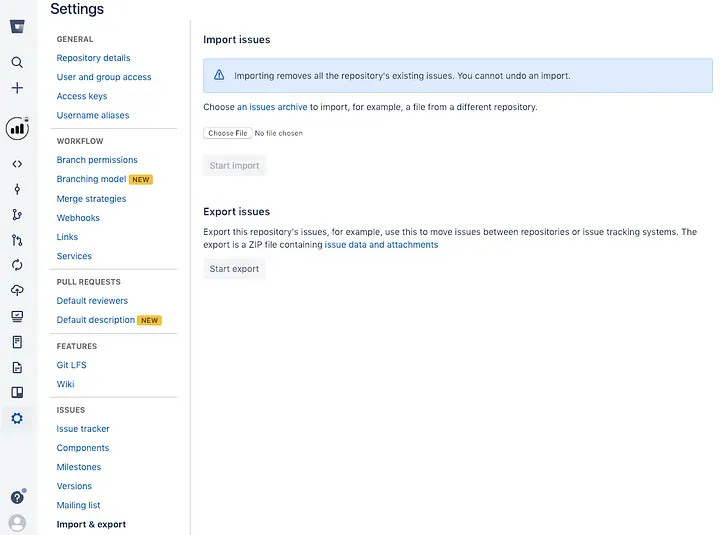
By clicking on Start export you’ll see the dialog in which you have to click on hyperlink to start downloading the dump of all of the Bitbucket issues.
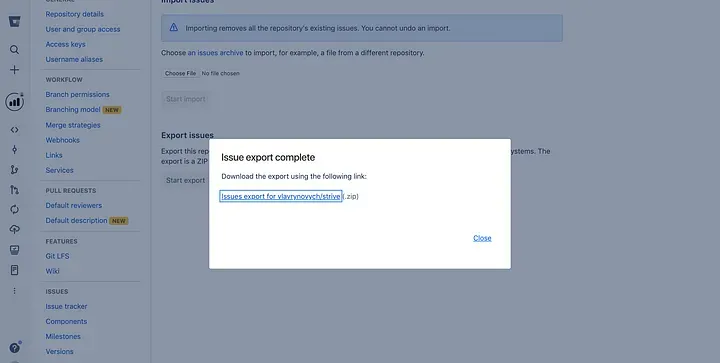
Once downloaded you need to unzip it. You’ll see something like this

We are interested in the db-1.0.json file. Please copy it to folder of previously downloaded tool (/Users/vlavrynovych/Downloads/bitbucket_issues_to_github-master in my case)
Should be something like this in a result

Run migration
Now we are ready to start import. For that we have to specify all the parameters for our command line tool.
Please note that this tool does not migrate attachments.
From the same folder in the terminal you need to run this command:
python bb2gh_issues.py -l vlavrynovych -p ****PASSWORD**** -r strive-v2 db-1.0.jsonOr this to do it without assignee information
python bb2gh_issues.py -l vlavrynovych -p ****PASSWORD**** -r strive-v2 --no-assignees db-1.0.jsonWhere
-l - GitHub login
-p - GitHub password
-r - name of target repository
db-1.0.json - json file with all the issues from Bitbucket
--no-assignees - special argument which skips assignee information if necessary
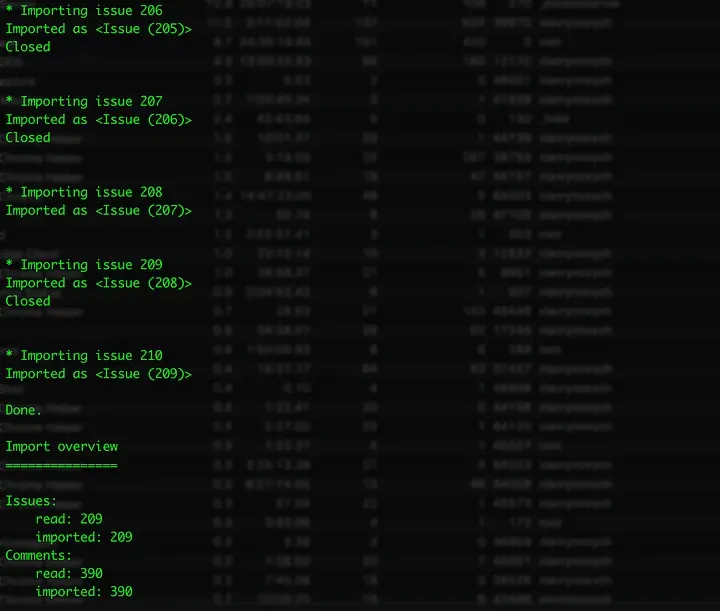
It may took long, but in a result you’ll see the following
Summary
We successfully migrated private repository from Bitbucket to GitHub with all of the issues and assignee information!
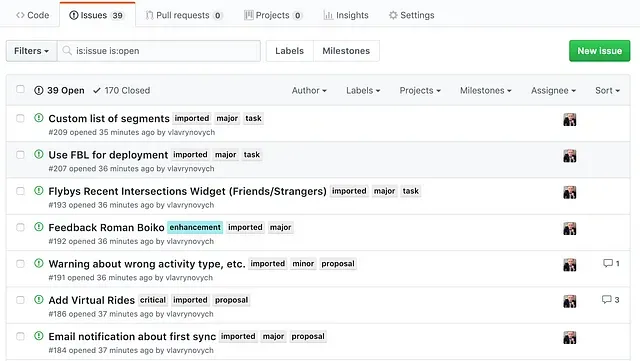
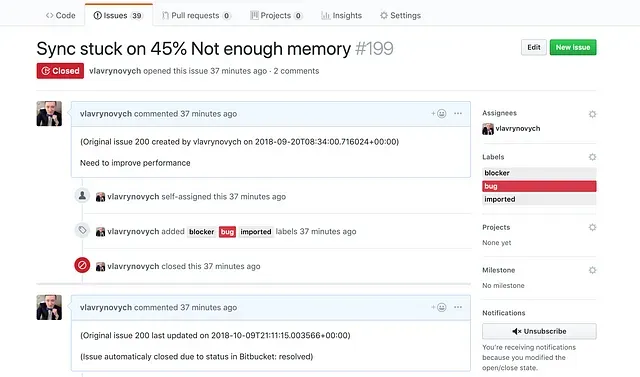
Results of execution


