Code Snippets Style - Ghost
A quick way to add code snippets using Prism to your Ghost blog and beyond. We will prepare the files and connect them through the administrator panel

Introduction
Hello. There have been pieces of code in several of my posts that appear quite dull against the background of other content, and unattractive compared to any other site where there is at least some code highlighting. Today we will fix that.
The Ghost blog supports code, but I would say only halfway. Why? Because on one hand, you can add a special code section to a publication and even specify the programming language, but it won't affect the appearance. It will be grayish.
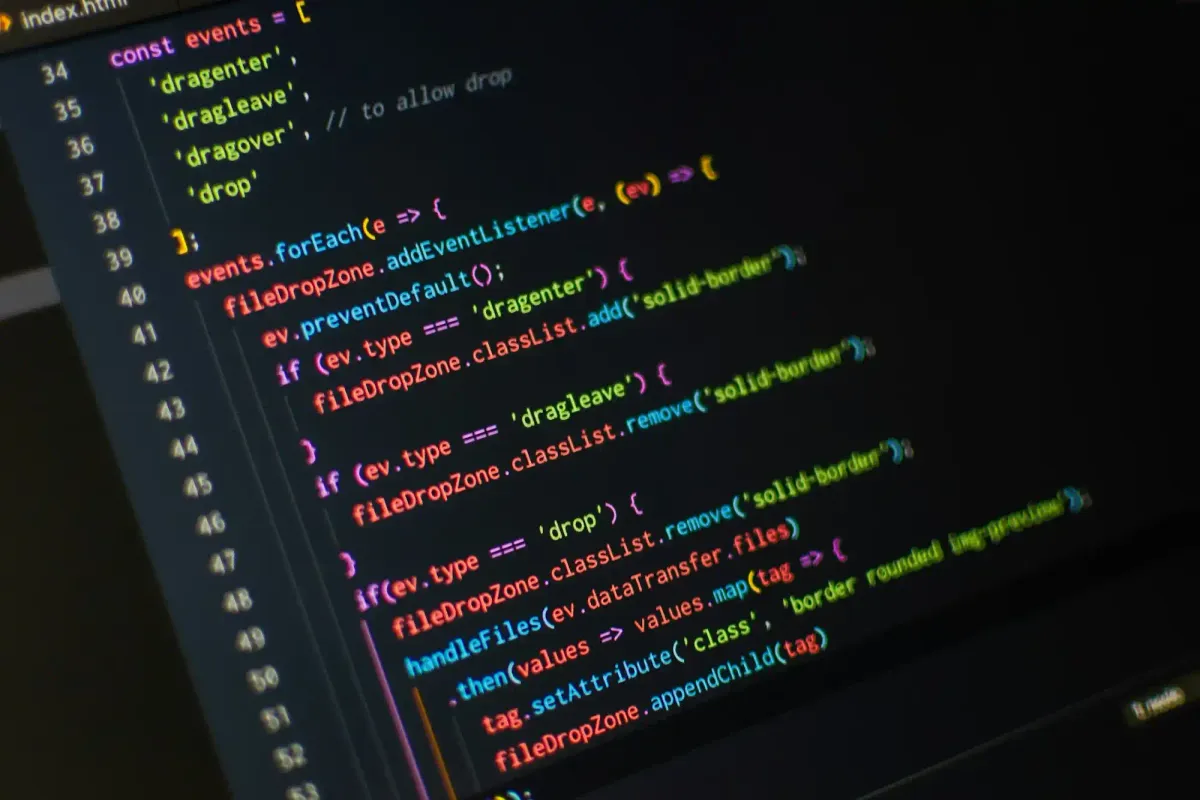
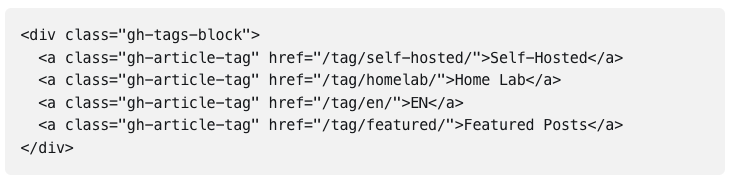
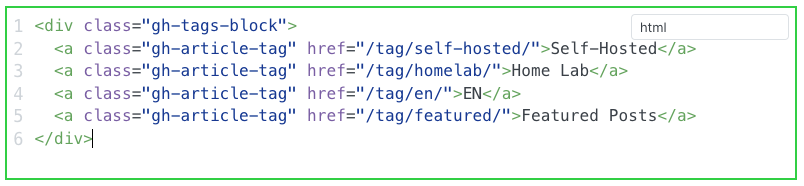
Let's take this piece of code as a basis today. This is how it looks for readers in my post about tags.
And that's how it looks in the author's editor. And please note that I specify the programming language, which should affect the syntax highlighting. So, while I'm editing, there is syntax highlighting, but when the code is published, it's all gray.
Let's fix it together. For this, we'll use https://prismjs.com/.
Connecting Prism
Prism is a lightweight syntax highlighting tool designed with modern web standards in mind. It is used on millions of websites, including those you visit daily.
In short, we need to connect JavaScript and CSS files to our blog. There are two ways to do this:
- Download the files, copy them to the directory of our blog on the server, and add them to the header of the page, modifying the corresponding file.
- Connect the public version from a CDN (Content Delivery Network) via code injection accessible to the administrator.
The advantage of the first option is that even if Prism ever disappears along with all CDN servers, your blog will still have code highlighting because all necessary files will be stored on your server. However, this is a bit more complicated compared to the second approach, which offers the ease of connection and updating to newer versions in the future.
In my programming experience, for something extremely important, it's best to choose the first option. However, a blog is usually something less serious in my understanding, so I personally didn't bother too much. I need results, and the fastest way to achieve them is through the second method.
Code Preparation
Among the various CDNs (cdnjs, jsDelivr and UNPKG), I chose cdnjs.
Here is the link to PrismJS 1.29.0, which is the latest version at the time of writing this post: https://cdnjs.com/libraries/prism/1.29.0
Here's a list of things we need:
- Theme - Prism has several color schemes or themes. Here you are free to choose others or even create your own.
- Core - the core of the Prism library, providing basic functionality. Should be used with Autoloader or you need to switch to a version with the required languages (programming).
- Autoloader - Prism recommends using the autoloader, which will automatically load the necessary languages.
And here are the corresponding files:
- https://cdnjs.cloudflare.com/ajax/libs/prism/1.29.0/themes/prism-tomorrow.min.css
- https://cdnjs.cloudflare.com/ajax/libs/prism/1.29.0/components/prism-core.min.js
- https://cdnjs.cloudflare.com/ajax/libs/prism/1.29.0/plugins/autoloader/prism-autoloader.min.js
Now let's prepare the code that we will later insert into our blog. Copy it all from the same link cdnjs.com/libraries/prism, clicking on the corresponding </> icon.
<!-- Prism Theme -->
<link rel="stylesheet" href="https://cdnjs.cloudflare.com/ajax/libs/prism/1.29.0/themes/prism-tomorrow.min.css" integrity="sha512-vswe+cgvic/XBoF1OcM/TeJ2FW0OofqAVdCZiEYkd6dwGXthvkSFWOoGGJgS2CW70VK5dQM5Oh+7ne47s74VTg==" crossorigin="anonymous" referrerpolicy="no-referrer" />

<!-- Prism Core -->
<script src="https://cdnjs.cloudflare.com/ajax/libs/prism/1.29.0/components/prism-core.min.js" integrity="sha512-9khQRAUBYEJDCDVP2yw3LRUQvjJ0Pjx0EShmaQjcHa6AXiOv6qHQu9lCAIR8O+/D8FtaCoJ2c0Tf9Xo7hYH01Q==" crossorigin="anonymous" referrerpolicy="no-referrer"></script>

<!-- Prism Autoloader -->
<script src="https://cdnjs.cloudflare.com/ajax/libs/prism/1.29.0/plugins/autoloader/prism-autoloader.min.js" integrity="sha512-SkmBfuA2hqjzEVpmnMt/LINrjop3GKWqsuLSSB3e7iBmYK7JuWw4ldmmxwD9mdm2IRTTi0OxSAfEGvgEi0i2Kw==" crossorigin="anonymous" referrerpolicy="no-referrer"></script>
Code Injection
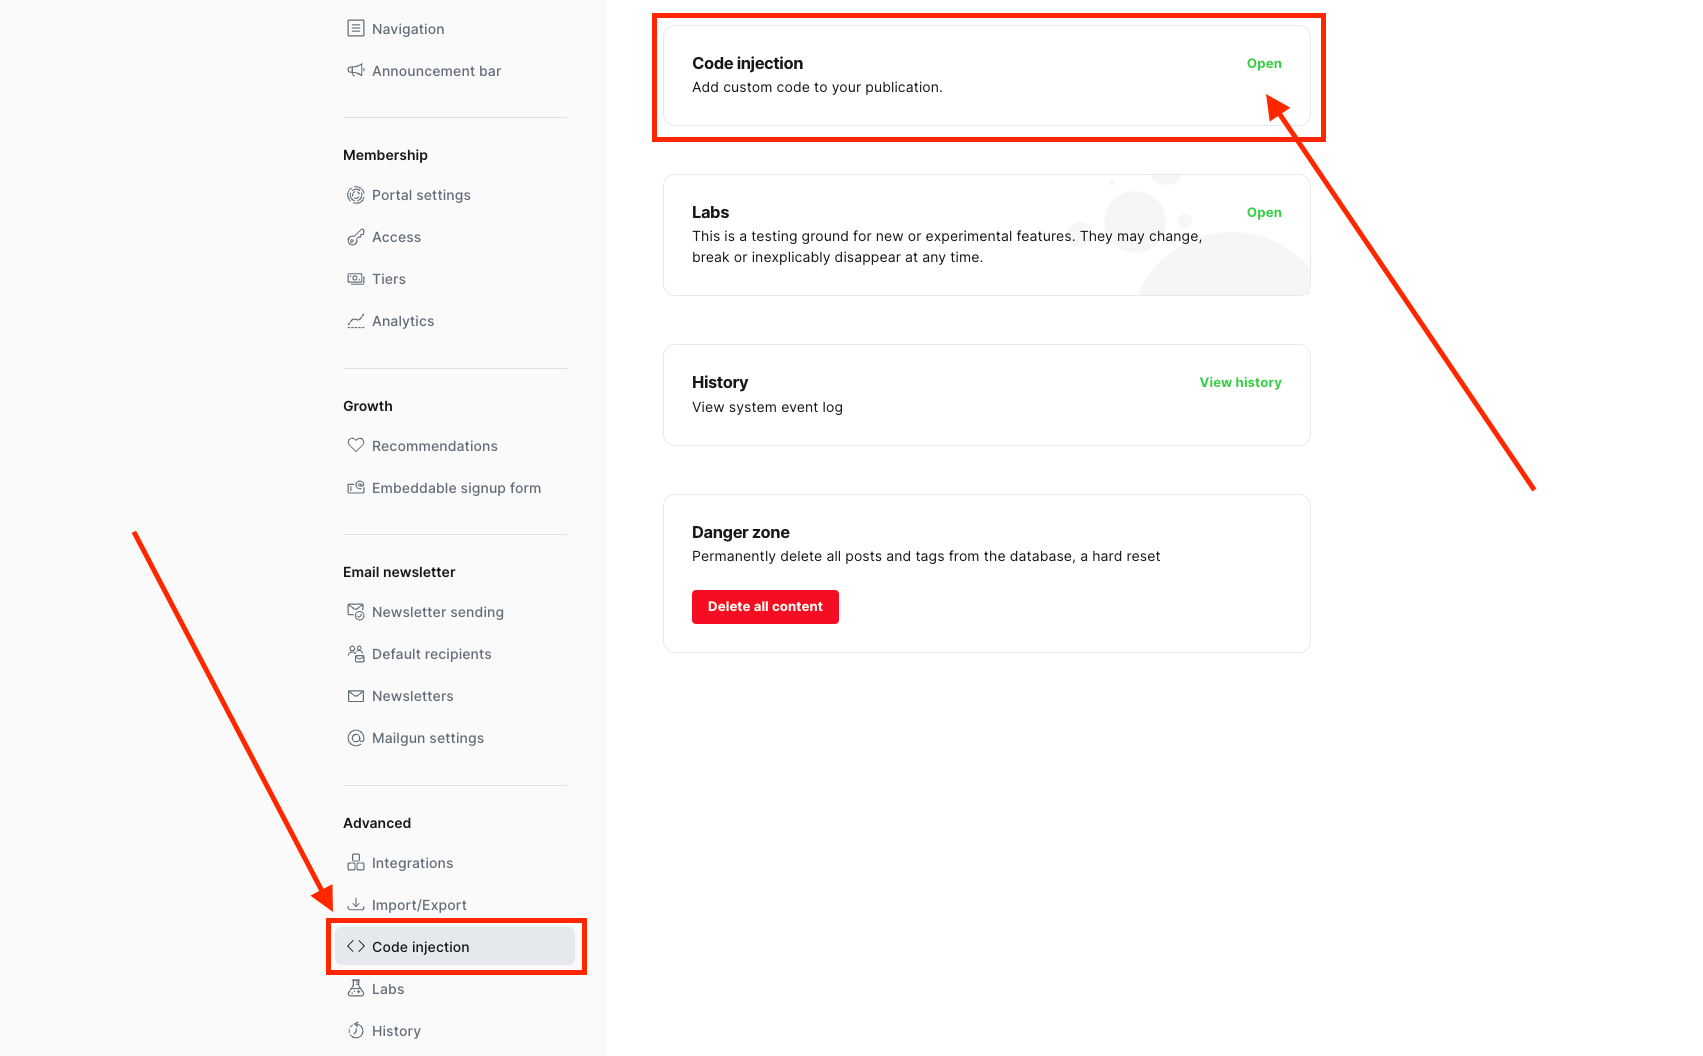
Once everything is gathered, we navigate to the settings page of your blog as an administrator. In the menu on the left, look for "Code Injection" and click on the "Open" button.
Adding visual examples for you
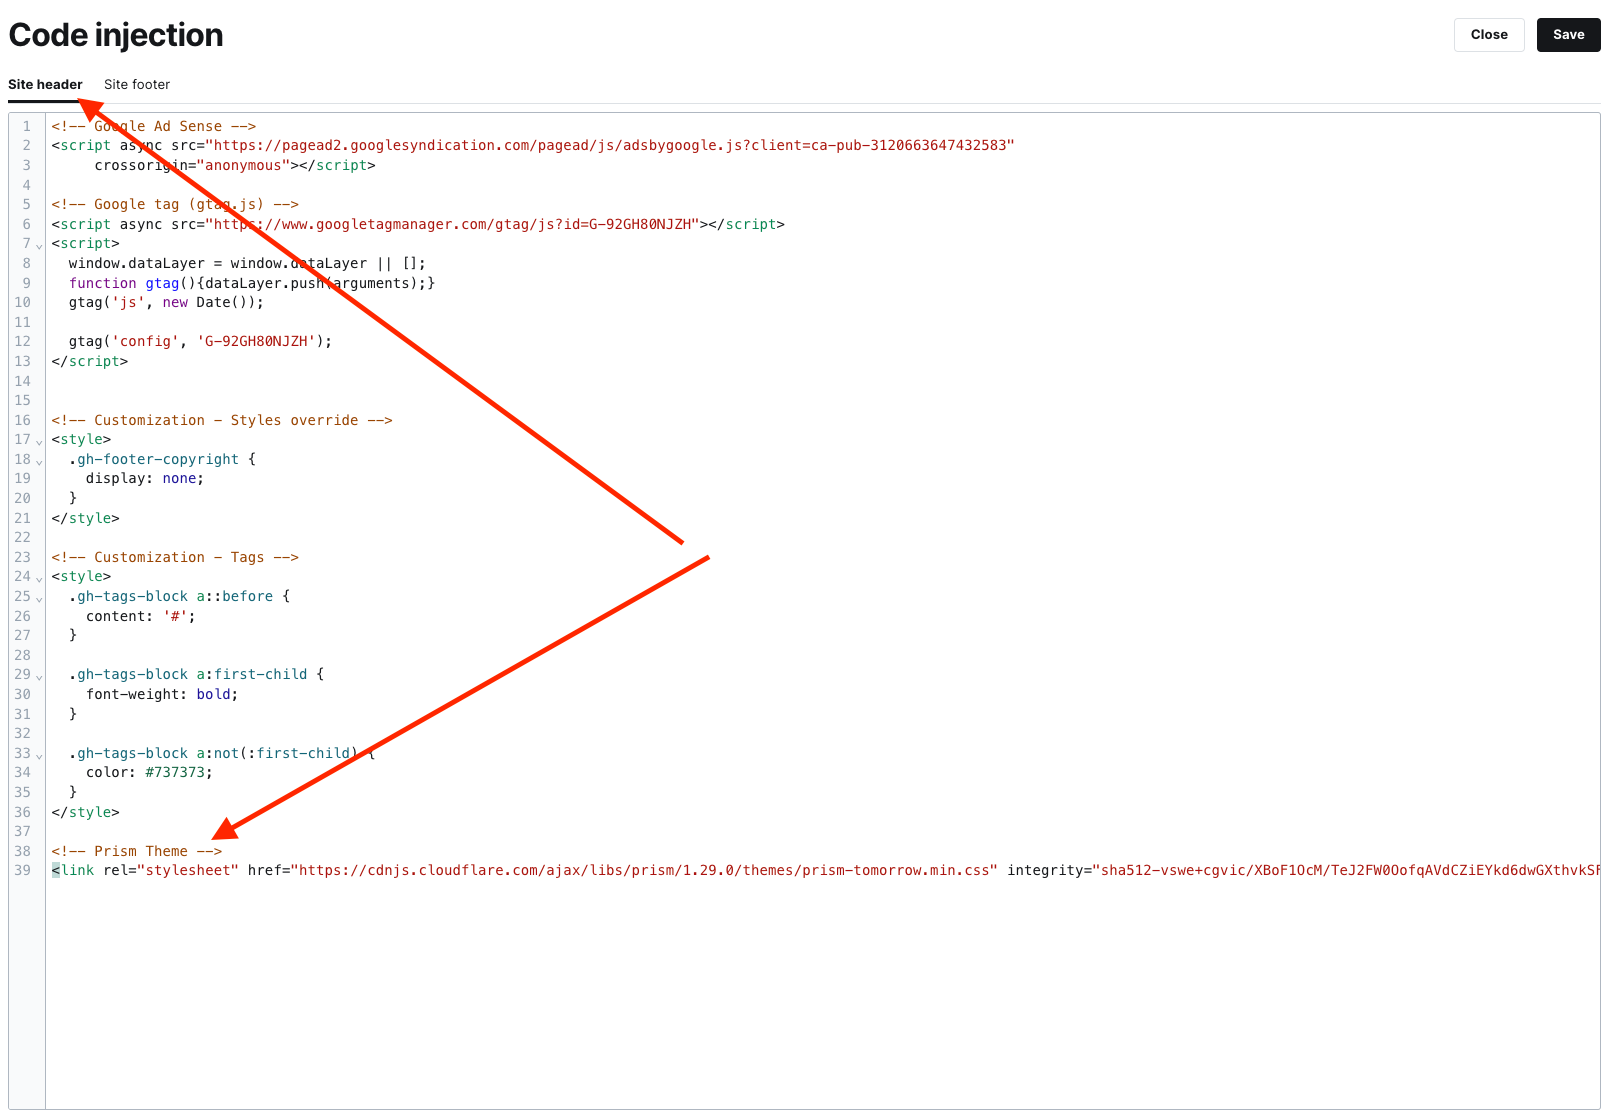

Next, simply save, and that's it. It should work.
Verification
After refreshing the publication page in the browser, we should have nicely highlighted code as desired.
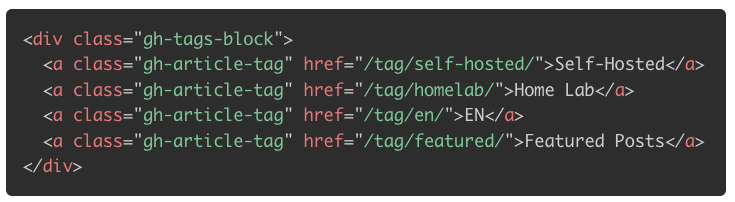
Starting from this moment, my blog will highlight code, and all old posts will automatically start looking a bit better. Awesome!
The official Ghost website has A complete guide to code snippets, which I used and recommend you to read if you have any questions left.