How to show post tags - Ghost

Starting work on my own blog, I noticed that my theme's source on the publication page displays only the first tag, not all the ones I selected when writing. And from the very first post, the idea came to mind to eventually retrieve all the tags and display them. That's where this post originated from.
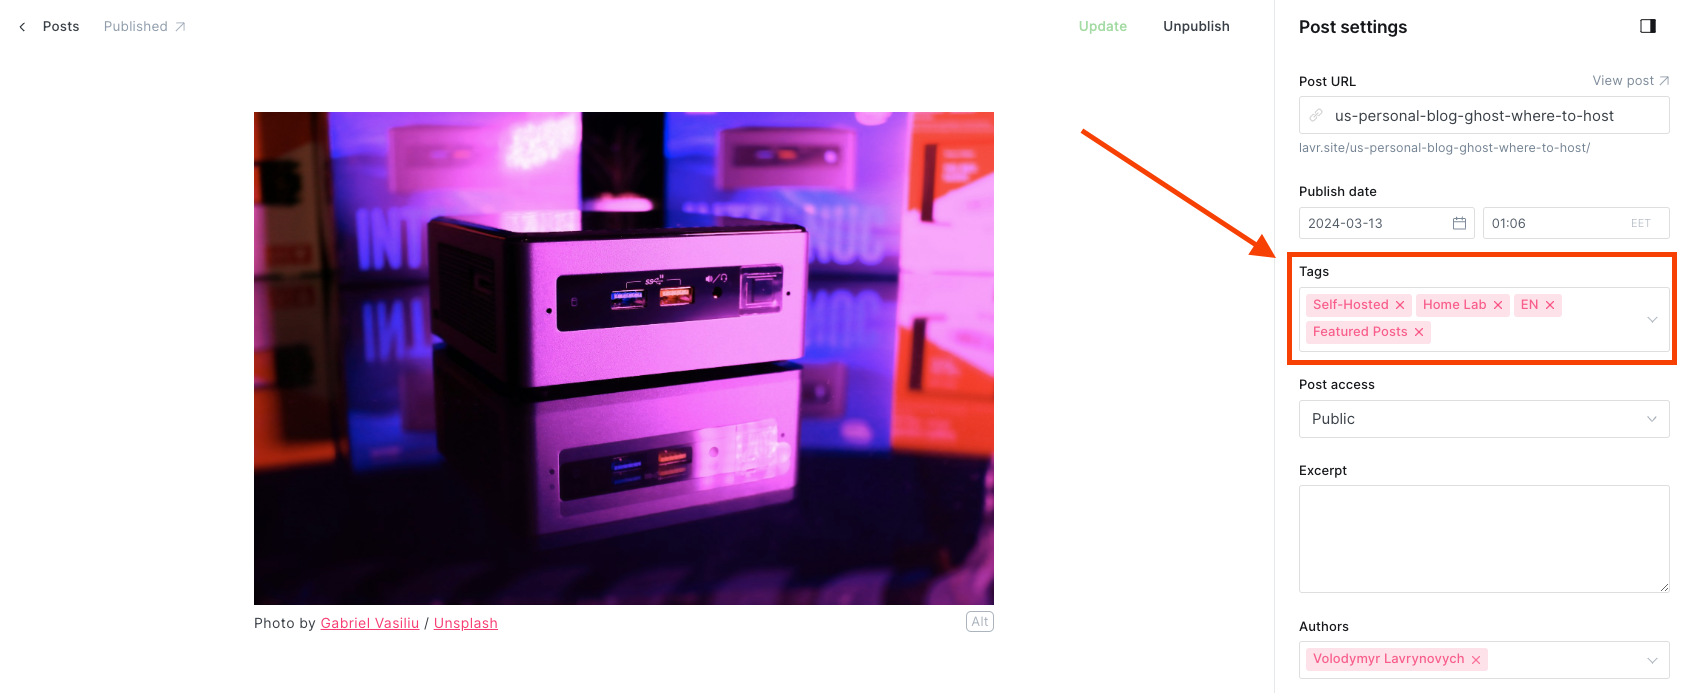
When you're still writing a post, you have the option to specify several tags. And you may have noticed that only the one you specify first is added to the page.
As you gradually fill your blog with new posts, the number of tags increases, and logically, you would like to draw readers' attention to other topics, even if not quite explicitly. However, I believe it's quite effective.
Потроху наповнюючи блог новими дописами тегів стає більше і логічно, що хотілося б звернути увагу читачів і на інші теми, навіть ось так не зовсім явно, але вважаю, що доволі ефективно.
I'll provide an example Before and After so that you understand what the problem was and what to expect when reading this post.
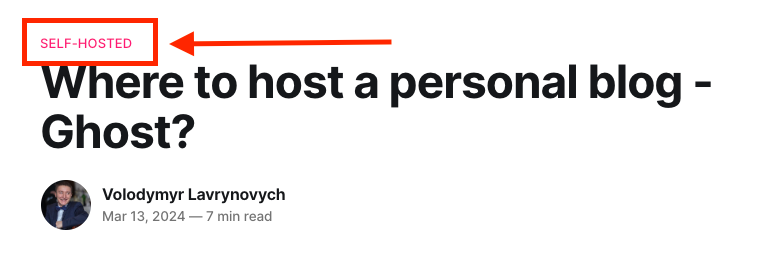
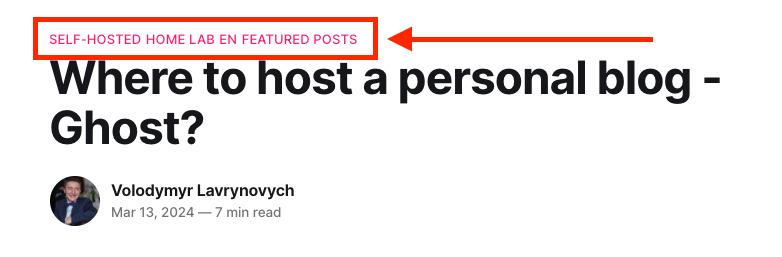
Before and After
Step 1 - Find and edit the post.hbs file
Now let's begin. Connect to your server and locate the directory with your blog. In my case, it's /var/www/ghost. Next, find the theme that is installed and navigate to its directory. In my case, it's Source, so I'll navigate to /var/www/ghost/content/themes/source and edit the post.hbs file using nano.
cd /var/www/ghost/content/themes/source
sudo nano post.hbsStep 2 - Replace the code
You need to find the following code in the file:
{{#if primary_tag}}
    <a class="gh-article-tag" href="{{primary_tag.url}}">
        {{primary_tag.name}}
    </a>
{{/if}}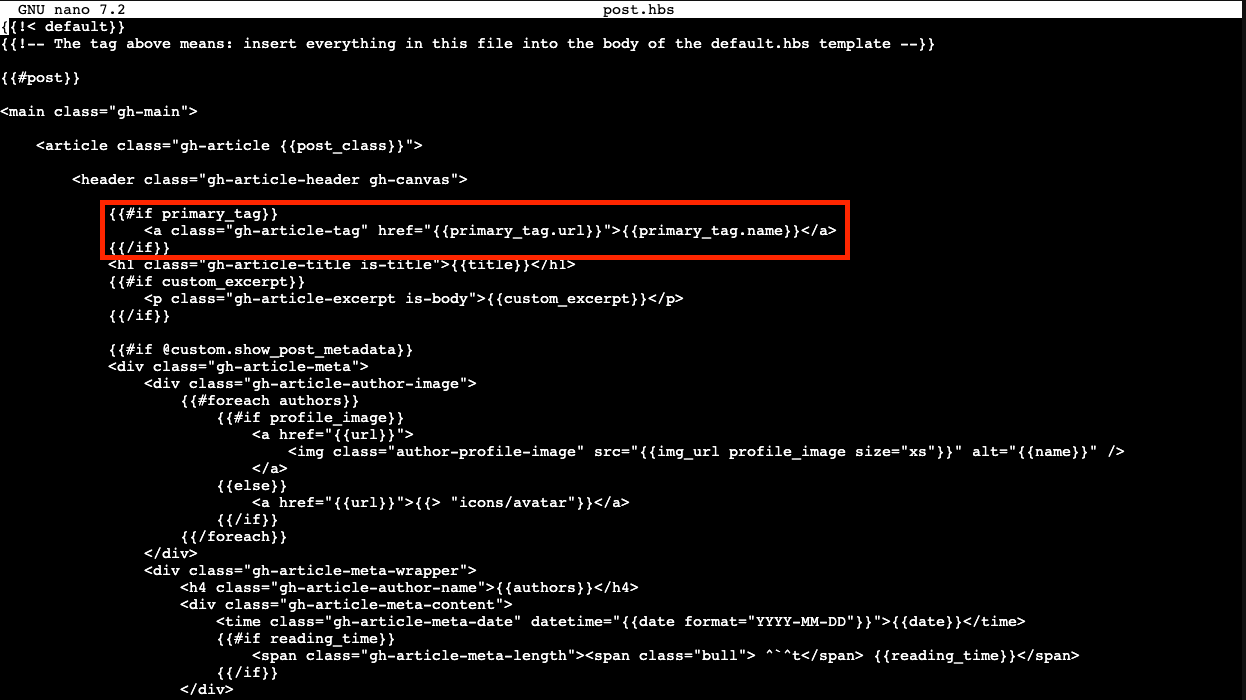
And replace it by:
<div class="gh-tags-block">
  {{#foreach tags}}
    <a class="gh-article-tag" href="{{url}}">{{name}}</a>
  {{/foreach}}
</div>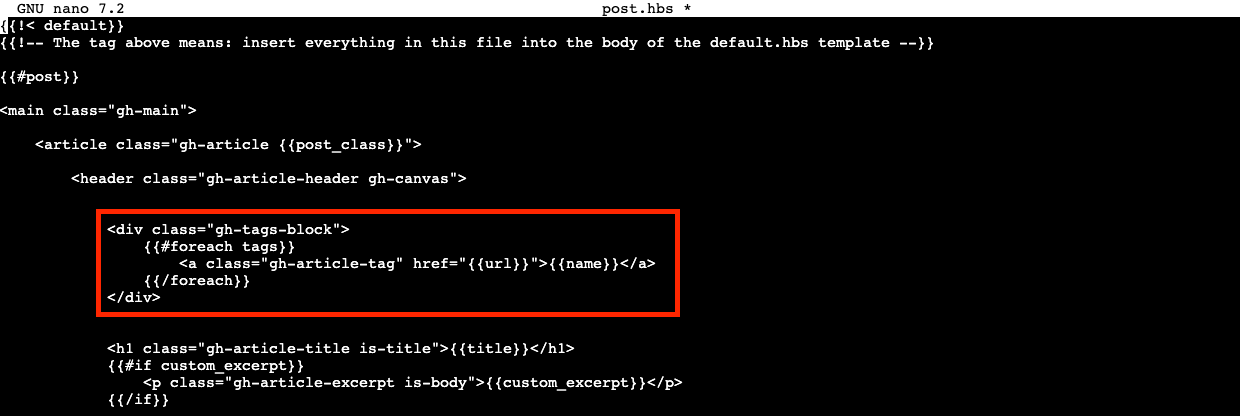
Press Ctrl+X to exit editing, then confirm the changes by pressing Y, and confirm the file name by pressing Enter.
Step 3 - Restart the blog
Once the changes are saved, you need to return to the root of your blog and restart it.
cd /var/www/ghost
ghost restart
The restart operation may require the administrator password and will take up to a minute to complete.
Result
Now let's check if everything worked out. Open the same post from your blog and see the changes.
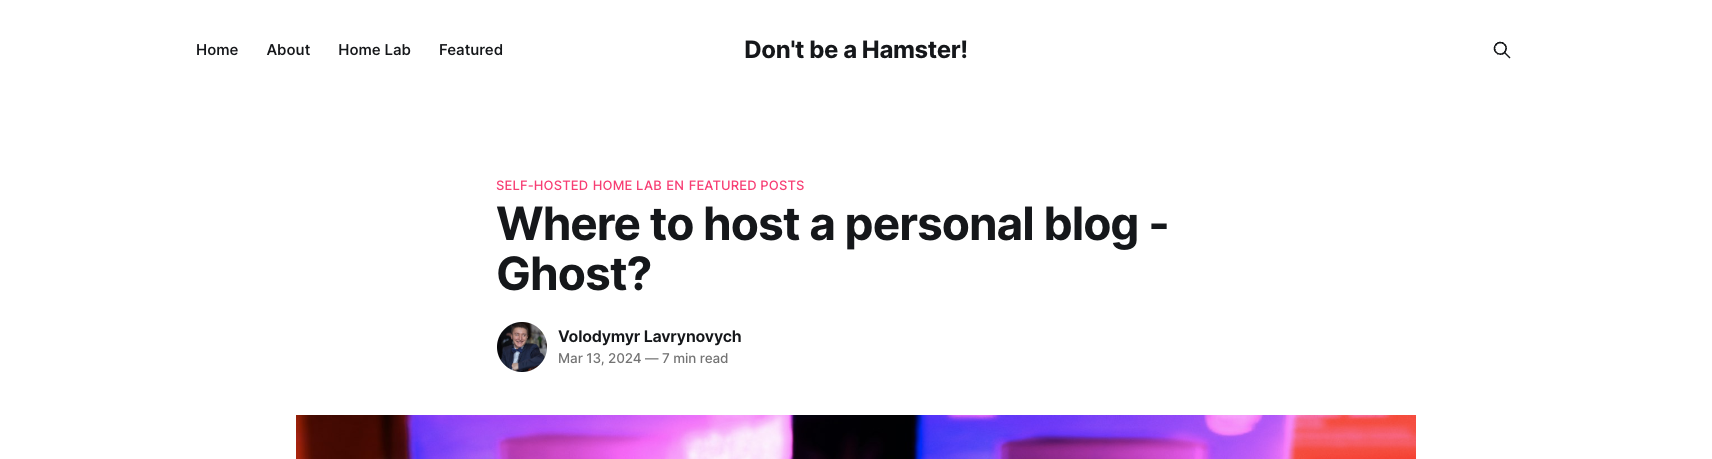
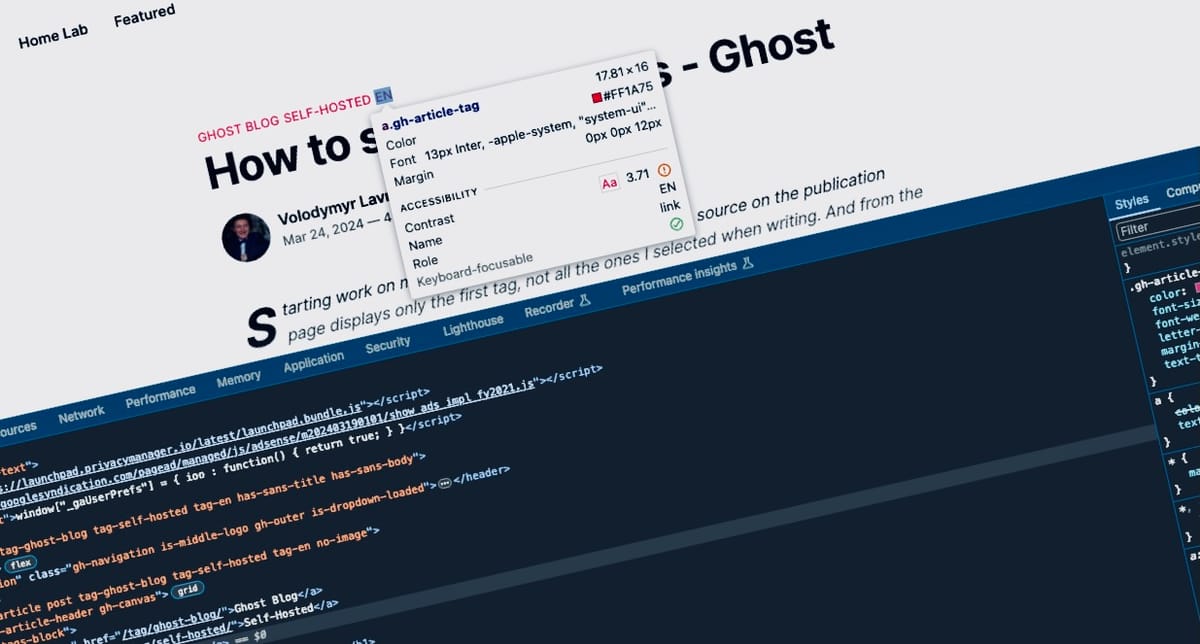
If you inspect the HTML code of your blog, you'll see that the updated code creates a block with the class gh-tags-block and a complete list of all the tags you used.
<div class="gh-tags-block">
  <a class="gh-article-tag" href="/tag/self-hosted/">Self-Hosted</a>
  <a class="gh-article-tag" href="/tag/homelab/">Home Lab</a>
  <a class="gh-article-tag" href="/tag/en/">EN</a>
  <a class="gh-article-tag" href="/tag/featured/">Featured Posts</a>
</div>
All tags are clickable and lead the user to a separate page.
I came across related topics where people built a page with all the tags, similar to this post. Maybe you'll find that interesting too.
But quick searches specifically regarding publication tags didn't lead me to anything similar, so I created this step-by-step guide.
I hope it was helpful.